Home › Guides › Make your own preset
Make Your Own Film Preset
Short answer: Grade one photo you love — exposure and white balance first, then contrast, color, and grain — until it looks right, then save the whole stack as a named preset. Apply it to any future photo in one tap, and refine it over time. In Fimii your custom presets live right beside the built-in ones.
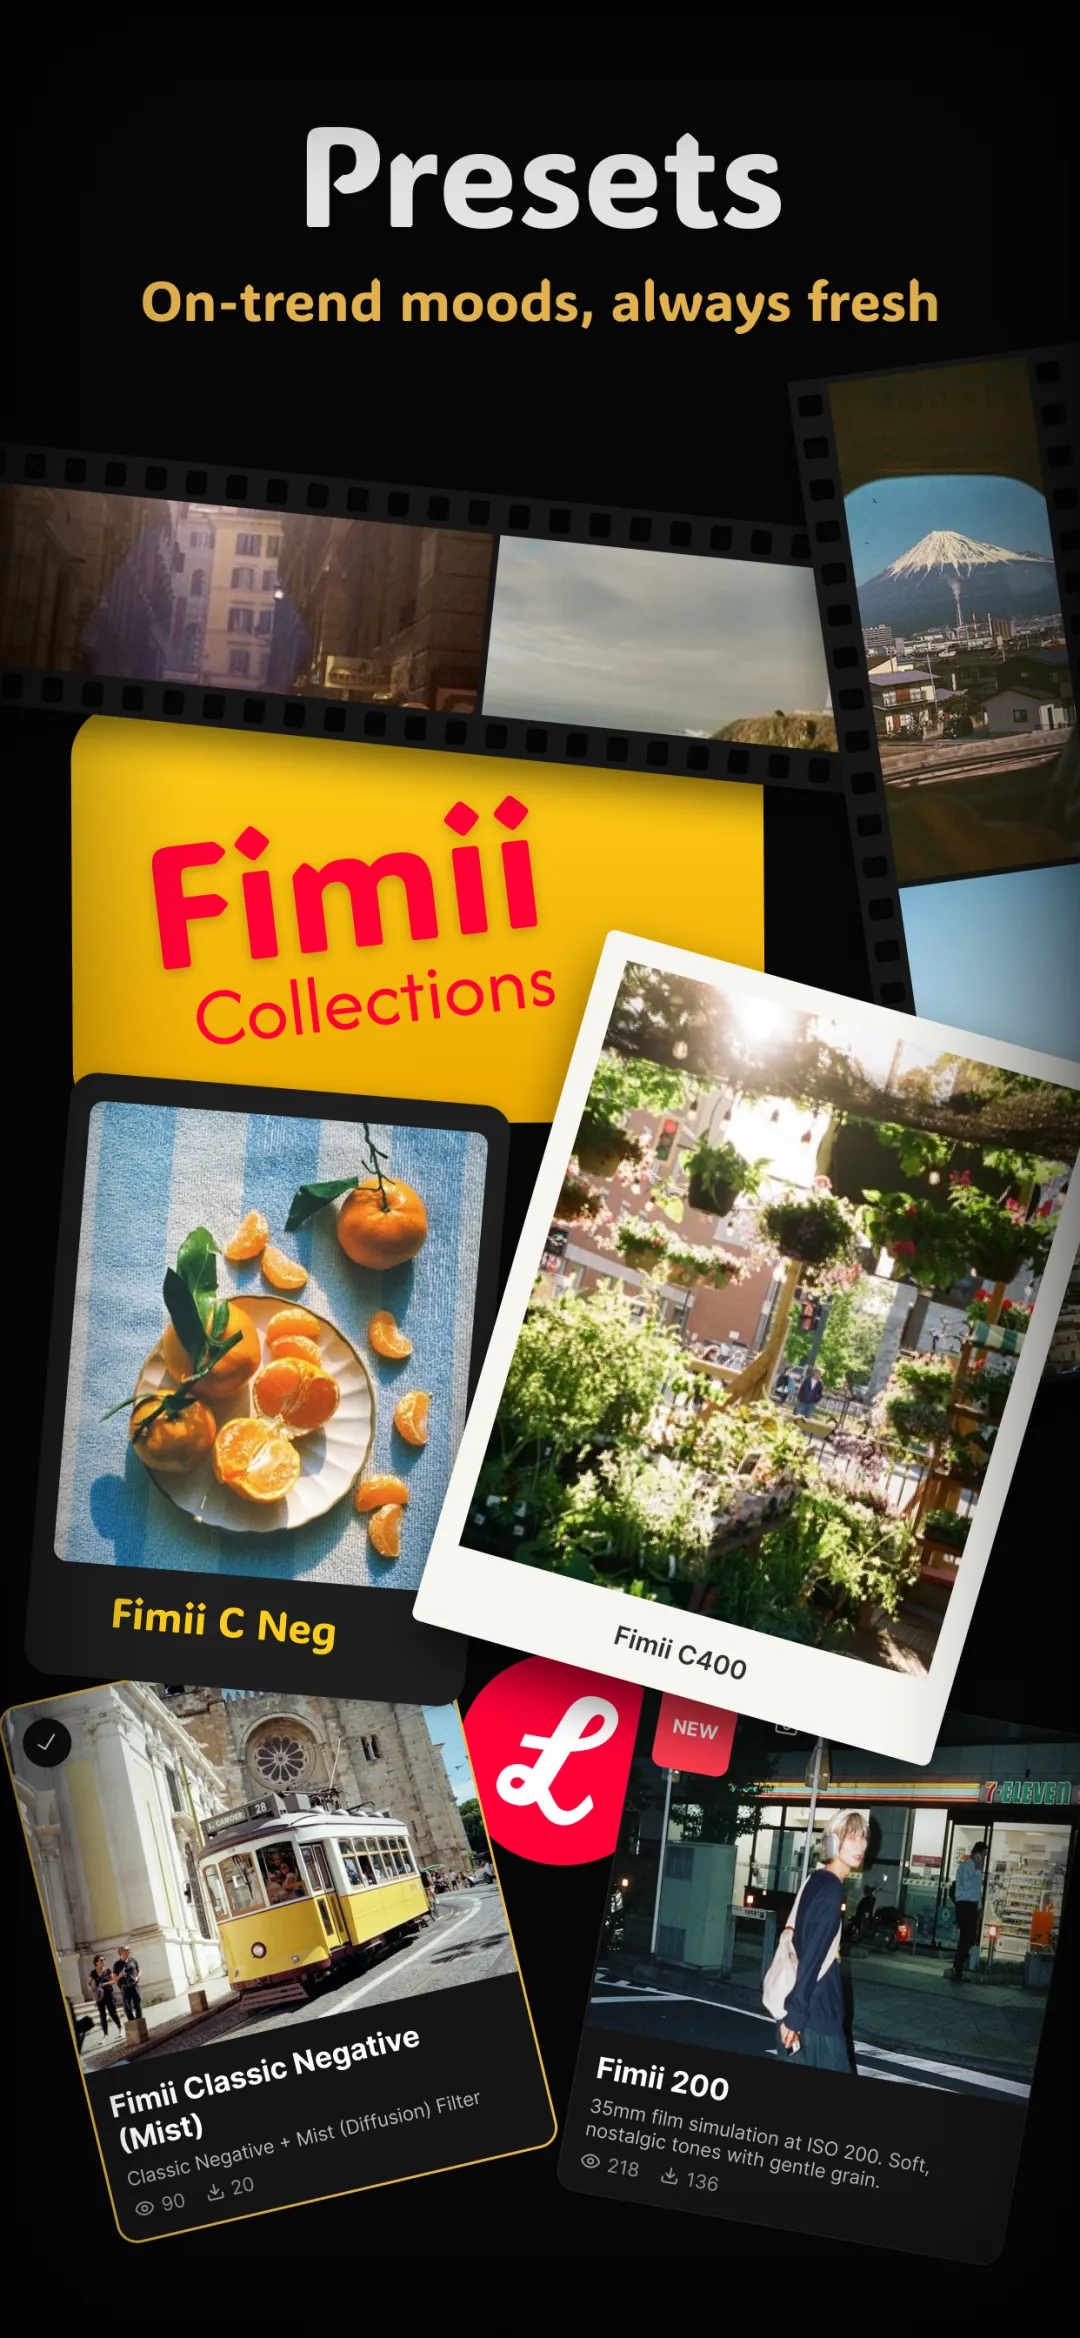
Applying someone else's preset is a fine start, but the real leap is making your own — a look that's yours, tuned to how you shoot and reusable on every photo after. It's easier than it sounds, and it's the natural payoff once you understand what a preset actually is: a saved recipe of settings you can build yourself.
Why make your own
- Consistency. A signature look across your whole feed, applied in one tap.
- Speed. Do the hard grading once, then reuse it forever instead of starting from zero each time.
- It fits you. A store-bought pack is built for someone else's photos; a preset you make is tuned to your camera, your light, your taste.
None of this requires special skill — if you can move an exposure slider, you can build a preset. The gap between a beginner's look and a signature one is mostly repetition: the more photos you grade, the faster you recognize the two or three moves that consistently make an image feel like yours. Over time you'll likely end up with a small family of presets — a warm one, a cool one, a higher-contrast one — rather than a single do-everything look, and that's exactly how professional colorists work: a handful of reliable starting points, each refined for a purpose.
Start from a photo you love
Don't build a preset in the abstract. Pick one photo you want to look great — ideally with skin tones and a bit of both shadow and highlight — and grade that until you love it. A look that survives a real, varied photo travels to others far better than one tuned on a flat test shot. Working from a RAW file gives you the most room, since you're grading real data rather than a baked JPEG.
Build the look
Grade in a sensible order so each step builds on the last:
- Exposure and white balance first. Get a neutral, correctly-lit base before you add character — see white balance basics.
- Contrast and tone with curves. An S-curve for punch, or a lifted black point for a matte film feel — the tone curve guide covers both.
- Color with wheels and HSL. Push shadows and highlights toward the palette you want, and use HSL to protect skin — the heart of color grading on your phone.
- Grain and texture last. A touch of grain glues the look together and reads as film.
Save it as a preset
Once the photo looks right, save the whole stack as a named preset. That single action captures every slider position — exposure, curves, wheels, HSL, grain — so you can apply the entire look to any future photo in one tap. Give it a clear name (“warm portrait,” “moody street”) so your library stays usable as it grows.
Tweak and refine over time
Your first preset is a draft, not a monument. Apply it to a dozen different photos and watch where it struggles — too warm in shade, too contrasty on faces — then adjust and re-save. Because the preset is just settings, editing it later is trivial, and each pass makes it more robust. Most signature looks are the result of many small refinements, not one perfect session.
Doing it in Fimii
Fimii is built for exactly this. Grade a photo with its color wheels, per-channel curves, HSL, white balance, grain and halation — all non-destructively, on a true 16-bit develop — then save the result as your own preset. It lands in the same library as the handcrafted looks, ready to reuse on any shot, and stays fully editable so you can refine it whenever you like. When you apply it later, you can still dial the strength down per photo, so your own look adapts instead of forcing itself on every image.
Mistakes to avoid
- Grading on a bad base. Fix exposure and white balance first; a preset can't rescue a wrong starting point.
- Building on one photo only. Test across several before you trust it.
- Overcooking it. If it only works at reduced strength, it's too strong — pull the grade back and re-save.
- Ignoring skin. A look that ruins skin tones won't survive real use, however pretty the landscape demo looked.
In Fimii, build a look with pro color tools on true 16-bit RAW, then save it as your own reusable preset. Free to download, one-time unlock, no subscription.
Get Fimii — free to download