Home › Guides › Develop RAW on your phone
How to Develop RAW Photos on Your Phone
Short answer: Shoot in RAW, open the file in a mobile editor that decodes RAW, then adjust white balance and exposure first, recover highlights and shadows, and finish with color. Work in 16-bit and keep it non-destructive so your original is never overwritten.
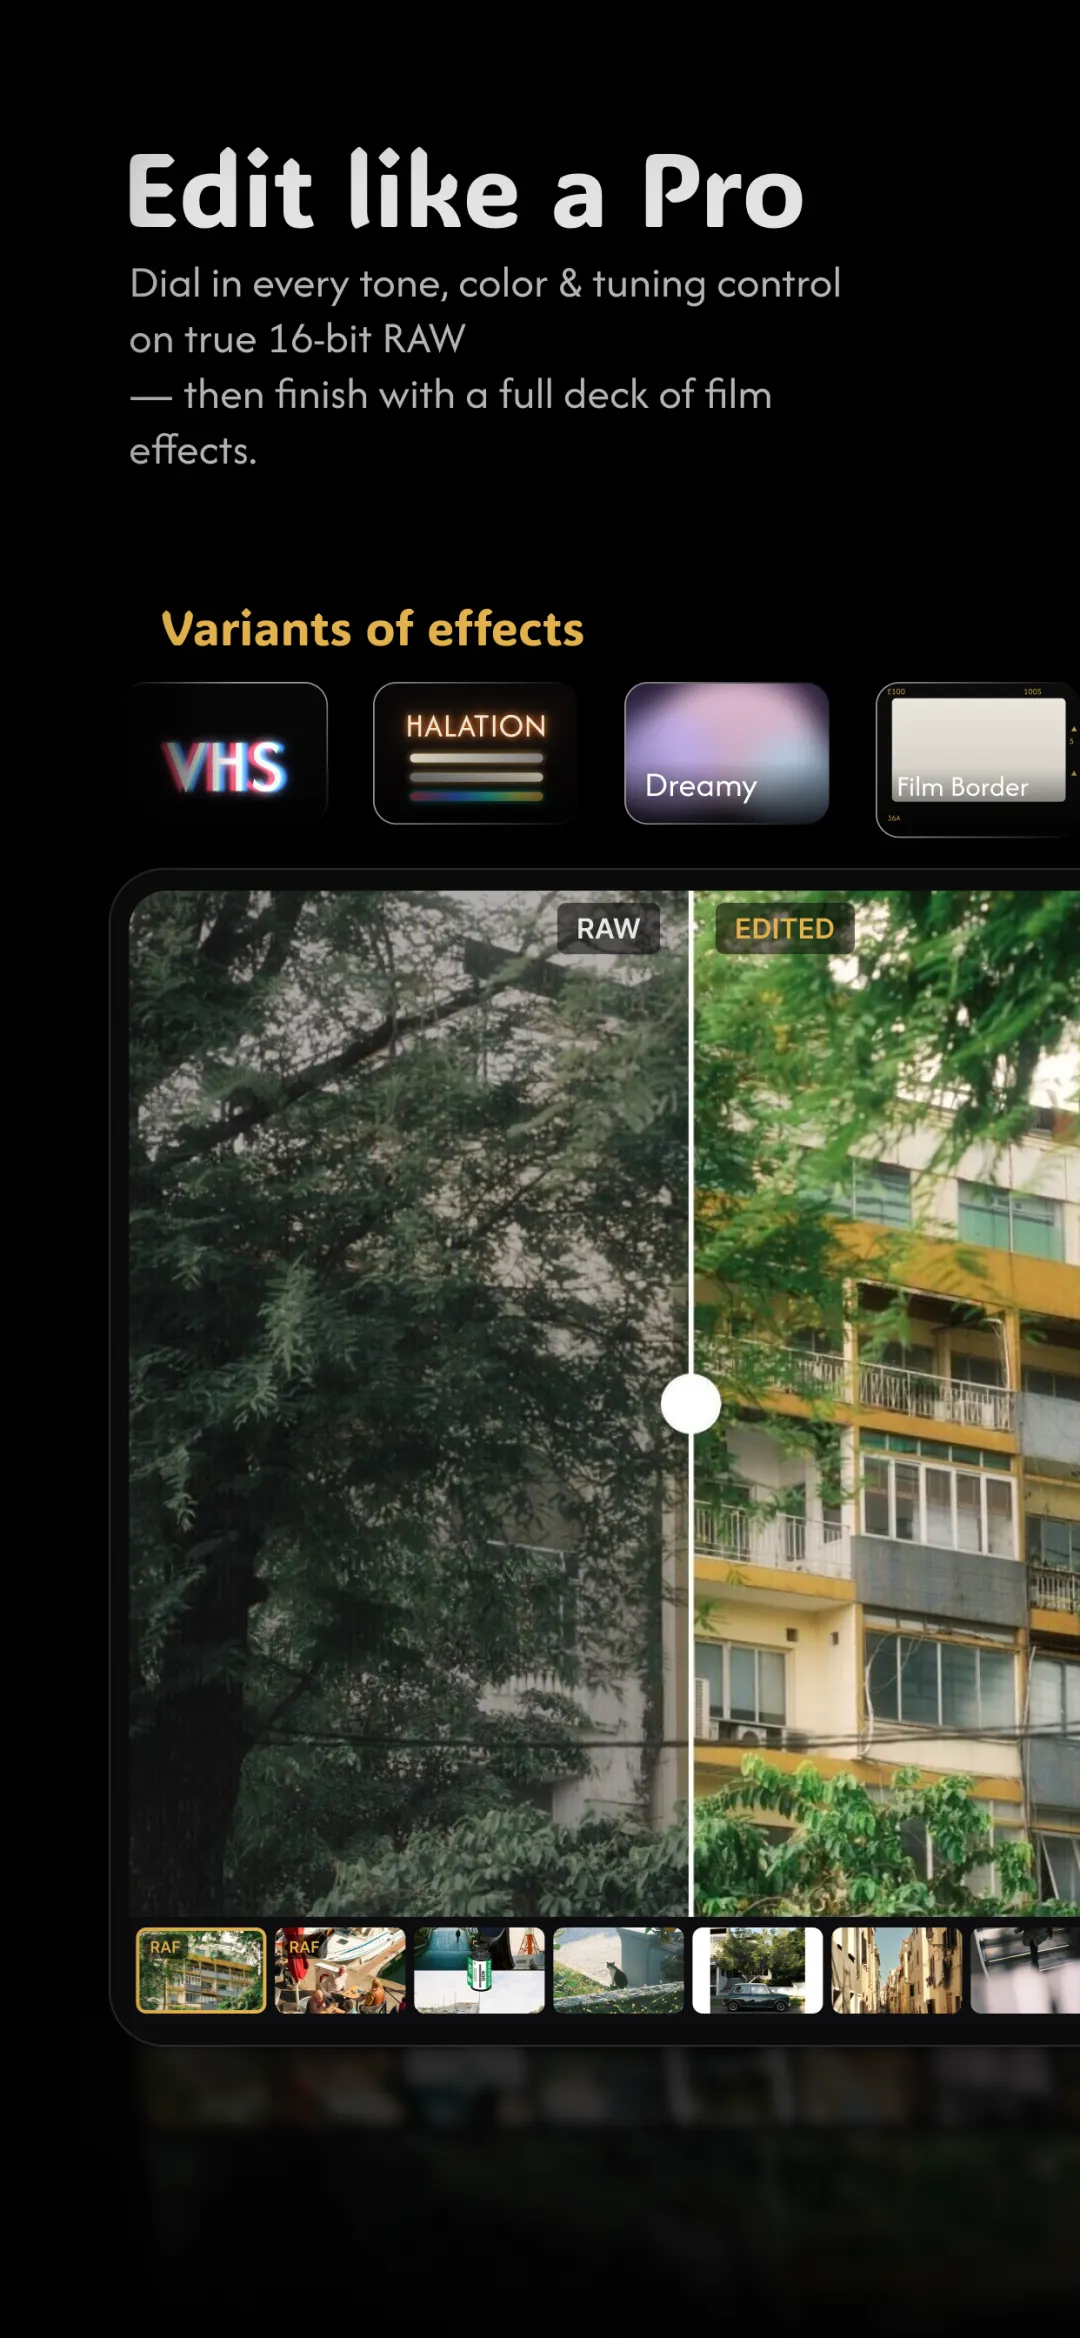
What is a RAW photo?
A RAW file is the unprocessed data straight off your camera sensor. Unlike a JPEG — which the phone has already sharpened, color-corrected, and compressed — a RAW keeps everything the sensor captured. That gives you far more room to recover blown-out skies, lift dark shadows, and change white balance after the fact without the image falling apart.
Why 16-bit matters
Bit depth is how many shades of tone a file can hold. An 8-bit JPEG stores 256 levels per color channel; a 16-bit pipeline holds thousands. When you push exposure or shift color hard, that extra headroom is what keeps gradients — skies, skin, sunsets — smooth instead of showing ugly banding. Developing RAW in true 16-bit means you can grade aggressively and still export a clean image.
How to shoot RAW on a phone
- iPhone: enable Apple ProRAW (Settings › Camera › Formats), or use a manual camera app that captures RAW/DNG.
- Android: turn on RAW/DNG in your camera's Pro mode, or use a manual camera app.
- RAW files are larger than JPEGs — that's normal, it's the extra data you'll edit with.
Step-by-step: developing a RAW
- Set white balance. Fix the color temperature and tint first so everything after looks natural.
- Set exposure. Get overall brightness right before touching anything local.
- Recover highlights and shadows. Pull highlights down to bring back sky detail; lift shadows to open up dark areas.
- Add contrast and presence. A gentle curve and a touch of vibrance give the photo depth.
- Grade the color. Now apply a film preset or color-grade with wheels, HSL, and curves for the final mood.
- Export. Save at full resolution for prints, or a smaller size for social.
Keep it non-destructive
Non-destructive editing means the app never overwrites your original file — your adjustments live as a separate set of instructions you can change or undo anytime. Always confirm your editor works this way so a heavy edit today doesn't cost you the original tomorrow.
RAW vs JPEG — what you actually gain
The practical difference between RAW and JPEG comes down to how much data survives to the editing stage. A JPEG has already been processed and compressed by the phone, so many decisions are locked in. A RAW keeps the sensor's full tonal range, which is what gives you real editing latitude.
- More tonal data. A RAW records far more brightness levels, so gradients stay smooth even after heavy adjustment.
- Recover highlights and shadows. Detail that looks blown out or crushed in a JPEG can often be pulled back from a RAW.
- White-balance freedom. You can reset color temperature after the fact with little penalty, instead of being stuck with the camera's guess.
- The cost. RAW files are much larger, and they need an extra develop step — they don't look finished straight out of the camera.
When RAW is worth it (and when it isn't)
RAW isn't automatically the right choice for every photo. It pays off most when the scene is demanding or the shot matters enough to edit carefully.
- High-contrast scenes. Bright skies over dark foregrounds, backlit subjects, sunsets — anywhere you'll want to balance highlights and shadows later.
- Tricky or mixed light. Indoor lighting, shade, and mixed color temperatures are far easier to correct from RAW.
- Keepers worth editing. Portraits, travel shots, and images you plan to print or post reward the extra effort.
- When to skip it. Quick casual snaps, screenshots of moments, or anything you just want to share instantly — a JPEG is fine and saves space and time.
Common RAW mistakes on phone
A few misunderstandings trip people up when they first move to RAW on mobile. Knowing them upfront saves a lot of frustration:
- Expecting it to look good straight away. A fresh RAW often looks flat and dull by design — that neutral starting point is the point.
- Over-sharpening. Pushing sharpness too hard exaggerates noise and creates halos. Sharpen gently and check at full size.
- Crushing shadows. Dragging shadows or blacks all the way down throws away the very detail RAW gave you. Keep some information in the dark areas.
- Ignoring white balance. Since RAW lets you set it freely, it's worth getting right — leaving it on the wrong temperature undoes a lot of the benefit.
Which RAW files does Fimii support?
RAW isn't only an iPhone thing. Fimii supports most RAW formats from both phones and cameras — iPhone and Android ProRAW (DNG) plus RAW straight from the major camera brands, developed natively in true 16-bit rather than as a flattened preview:
- iPhone & Android ProRAW (DNG)
- Canon, Nikon, Sony, Fujifilm
- Panasonic, Olympus / OM System, Pentax
- Samsung, Sigma, Hasselblad, Phase One
- Adobe, Ricoh, Leica and more (DNG)
Common RAW formats — DNG, CR2, CR3, CRW, NEF, NRW, ARW, SR2, RAF, RW2, ORF, PEF, SRW, X3F, 3FR, IIQ and others — are supported. Just pick the file from your phone's storage and Fimii develops it in true 16-bit. Very new camera models can occasionally need an update.
Fimii decodes RAW and develops it in true 16-bit — white balance, exposure, highlights, shadows, and color, all non-destructive.
Get Fimii — free to download