Home › Guides › What are film presets?
What Are Film Presets?
Short answer: A film preset is a saved recipe of color and tone adjustments that makes a digital photo look like it was shot on analog film. Tap it once and your photo takes on that film's colors, contrast, and mood — and you can still fine-tune everything afterward.
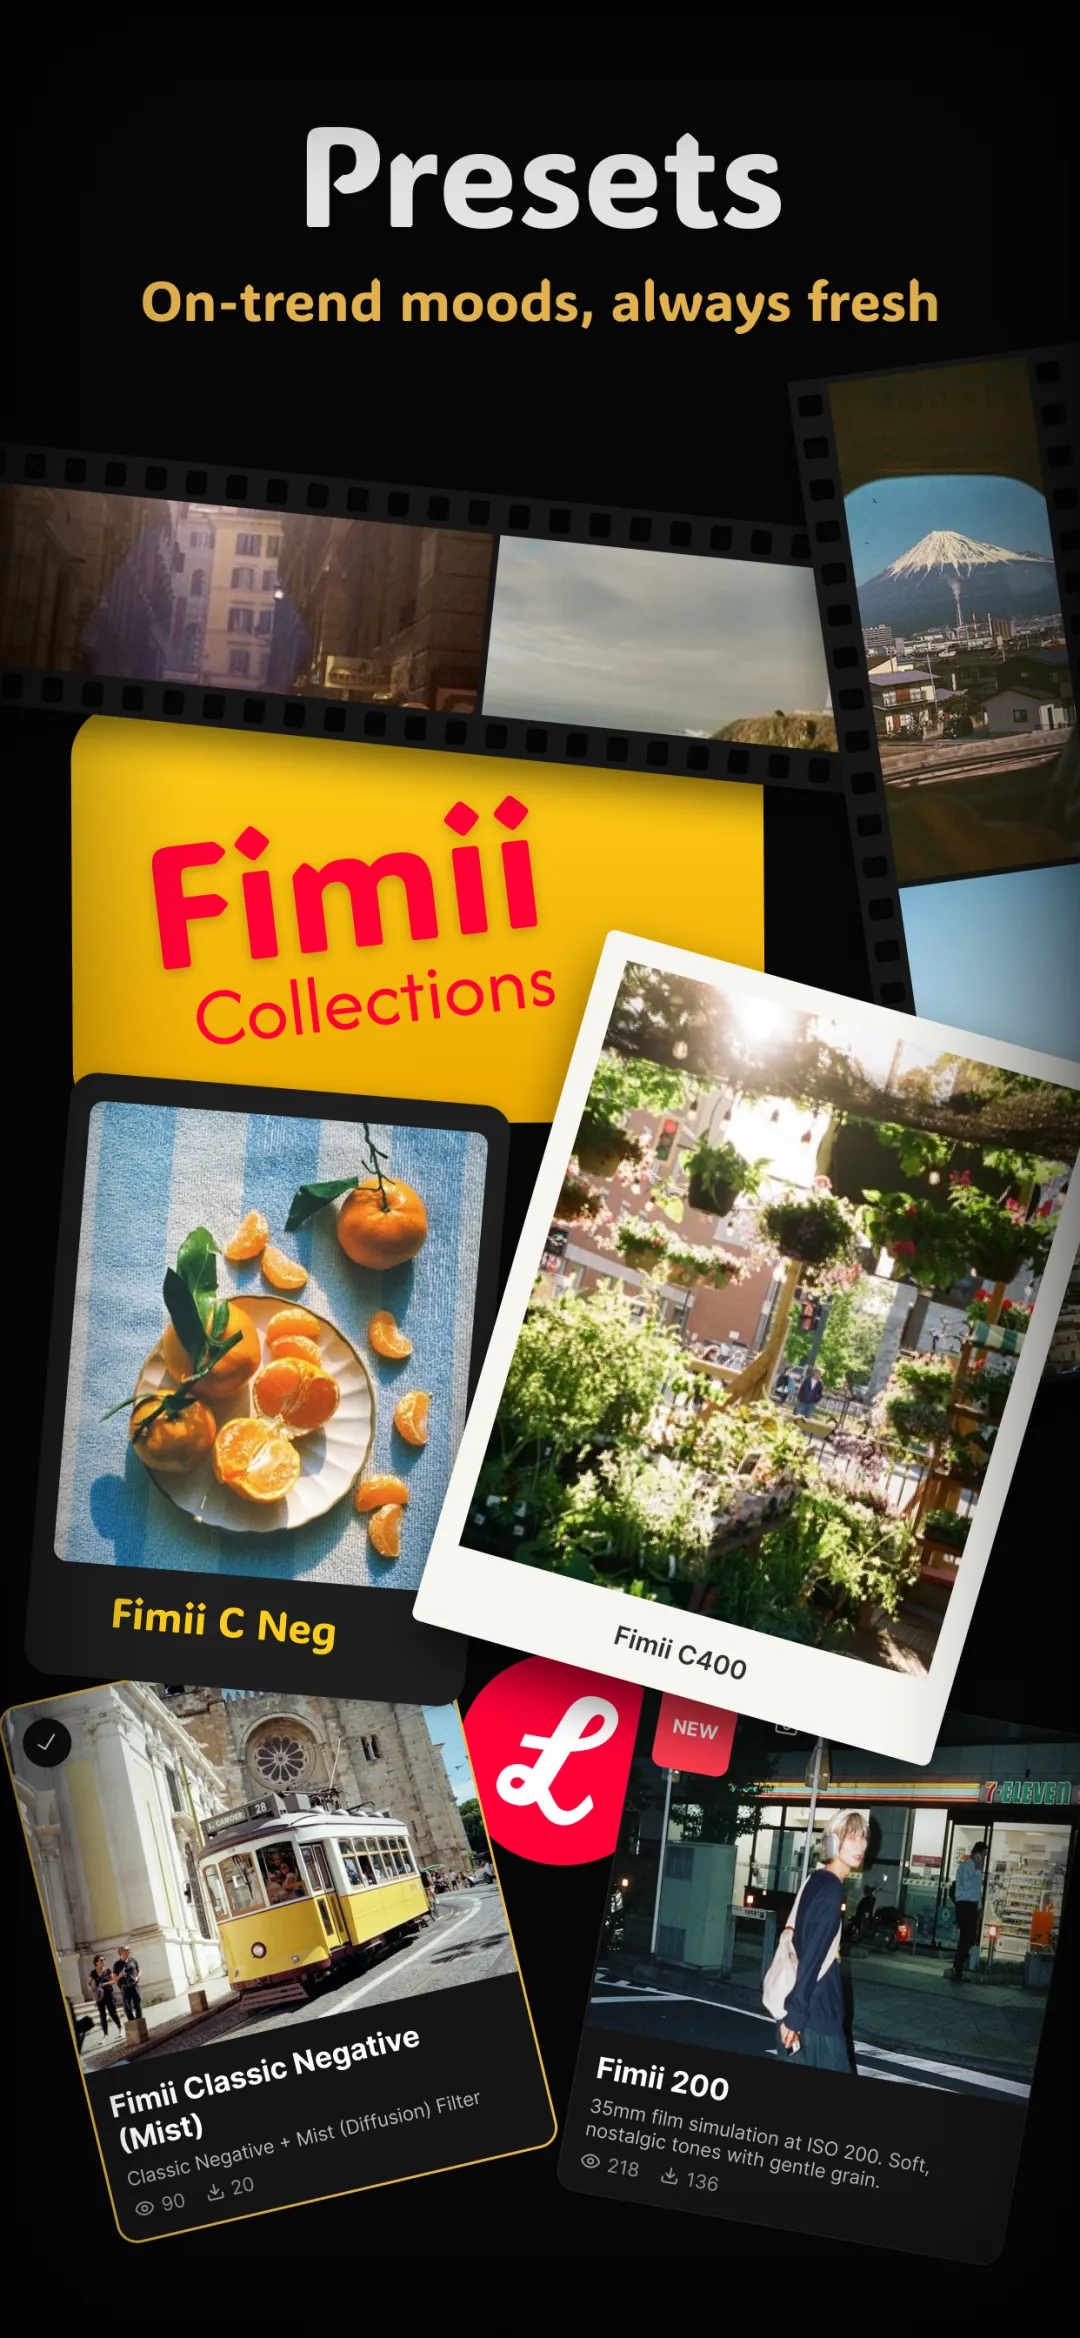
Film photography has a look people love: warm skin tones, gentle contrast, slightly faded shadows, and colors that feel a little nostalgic. A film preset recreates that look on a digital photo without you touching a single slider. It bundles dozens of small adjustments — white balance, curves, color shifts, grain — into one tap.
How film presets actually work
Under the hood, a preset stores a set of instructions: shift the shadows slightly green, warm the highlights, lower overall contrast, desaturate blues, add a touch of grain. When you apply it, the app runs those instructions on your photo. Because it is a recipe rather than a filter baked into the pixels, a good preset stays adjustable — you can dial its strength up or down and tweak individual settings after applying it.
Preset vs. filter — what's the difference?
People use the words interchangeably, but there's a useful distinction:
- Filter: usually a single, fixed effect with a strength slider. Quick, but shallow.
- Film preset: a deeper, multi-setting recipe modeled on a specific film stock, meant to be a starting point you refine.
- LUT: a "look-up table" that remaps colors mathematically. Presets often use LUTs as one ingredient among several.
What "film stock" means
Analog film came in different stocks, each with its own signature — some rich and punchy, some soft and pastel, some with strong greens or warm oranges. Handcrafted film presets are built to emulate those classic stocks, so choosing a preset is a bit like choosing which roll of film you "shot" on.
How to use film presets on your phone
- Start subtle. Apply a preset, then pull its strength back to around 70–80%. Full strength often looks heavy.
- Match the scene. A warm, faded look suits golden-hour portraits; a cooler, punchy look suits streets and architecture.
- Fix exposure first. Presets assume a reasonably exposed photo. Correct brightness before applying one.
- Keep it consistent. Using one or two presets across a set of photos gives your feed a cohesive, intentional feel.
Do film presets ruin image quality?
No — as long as the editing is non-destructive. That means the app keeps your original photo untouched and applies the preset as a separate layer of instructions, so you can adjust or remove it anytime. Editing a high-bit-depth file (such as RAW) also gives presets more room to shift color smoothly without banding.
Common families of film looks
Most film presets fall into a handful of broad families. Knowing the family helps you pick a starting point that matches the mood you're after, rather than tapping through dozens of options at random.
- Warm and faded. Lifted shadows, muted contrast, and a soft golden cast. Flattering for portraits, golden-hour scenes, and anything you want to feel nostalgic and gentle.
- Punchy and saturated. Deep contrast and rich, vivid color. Good for bold travel shots, street scenes, and images that need to grab attention.
- Cool and muted. Slightly desaturated with cooler shadows and restrained color. Suits overcast days, moody cityscapes, and a calm, editorial feel.
- Black-and-white. Strips color entirely so tone, texture, and light carry the image. Great for high-contrast scenes, strong shapes, and timeless portraits.
- Cross-processed. Deliberately shifted, unexpected colors — greenish shadows, warm or cyan highlights. A stylized, experimental look best used with intent rather than everywhere.
Mistakes people make with presets
Presets are a shortcut, but they still reward a little care. A few habits separate a natural film look from an obviously "filtered" one:
- Applying at full strength. Most presets look heavy at 100%. Pulling the strength back usually gives a more believable result.
- Ignoring exposure. A preset can't rescue a badly exposed photo. Fix brightness and white balance first, then apply the look on top of a solid base.
- Stacking too many. Layering several presets or effects tends to muddy the color and wash out contrast. One considered look almost always beats three fighting each other.
- Using the same look on every scene. A warm, faded preset that flatters a sunset can fall flat on a cool, overcast street. Match the look to the light in the photo.
Presets vs. shooting real film
A film preset and a roll of film aim for a similar feeling, but they are very different things. A preset is instant, free to reuse, and endlessly adjustable — you can preview it, dial it back, or undo it entirely without cost. Real film is a physical process: you buy the roll, shoot it, and pay to develop and scan it, and the result is fixed once it's shot.
Neither is "better" — they're different tools. Presets give you control and repeatability on photos you've already taken, while real film is its own craft with its own constraints and rewards. If you love the film aesthetic but want flexibility, presets are the practical way to get there on your phone.
Fimii ships with handcrafted film presets that emulate classic analog stocks — plus community collections. Every preset stays fully adjustable.
Get Fimii — free to download