Home › Guides › Manual camera app
Using a Manual Camera App for Film-Style Photos
Short answer: A manual camera app hands you the three controls your phone normally hides — ISO, shutter speed, and white balance — plus the ability to shoot RAW. Take control of those, expose a little flat, and the film look becomes something you build on purpose instead of hope for by accident.
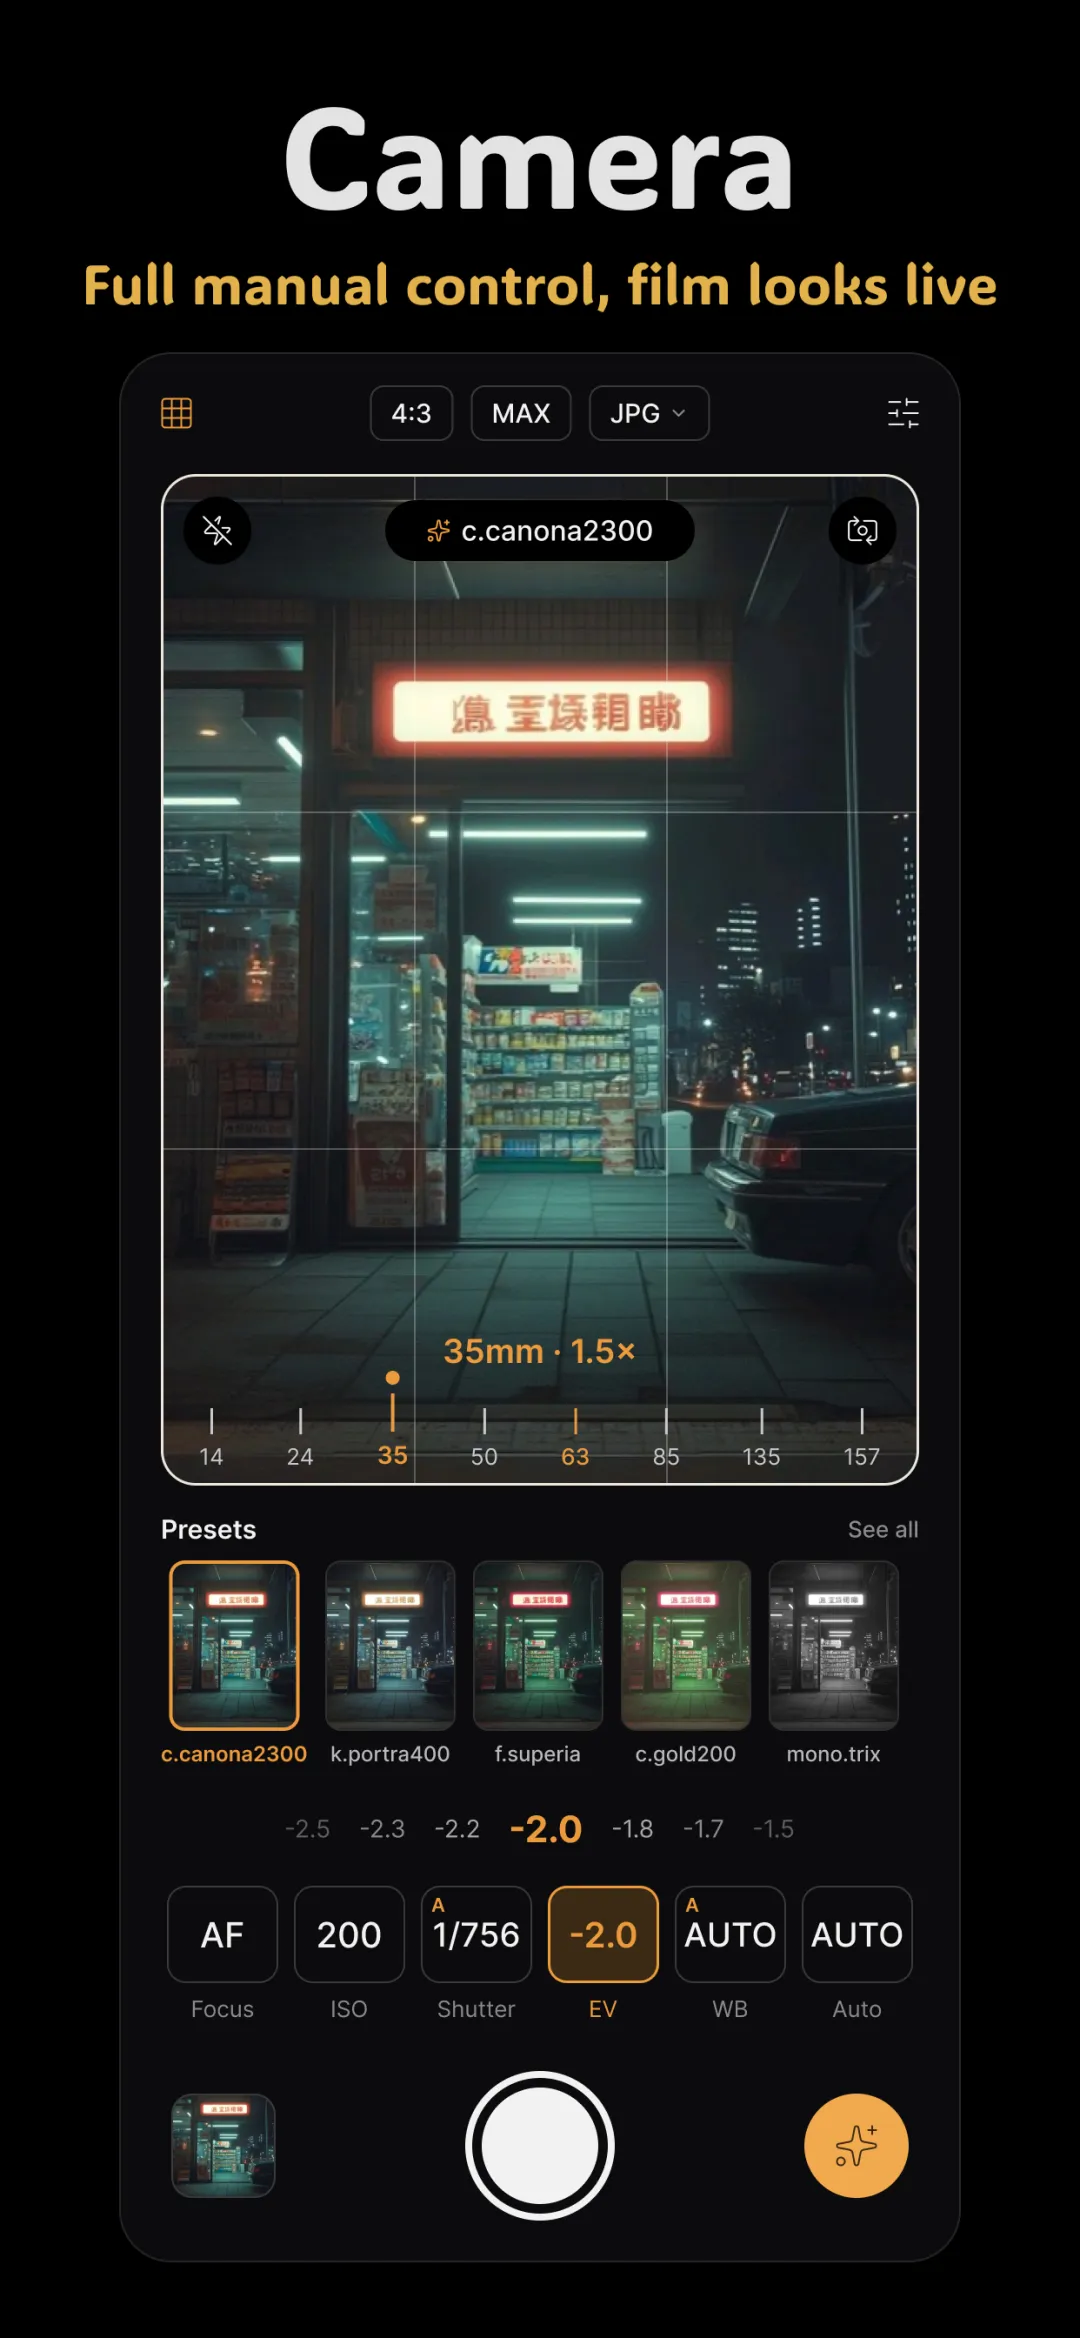
Most "film" apps only touch a photo after it's shot. But the real film look starts at capture: how much light you let in, how you set the color, and whether you keep the full RAW file. A manual camera app is where that begins, and it's the foundation the rest of your film-photography workflow sits on.
Why shoot manually for a film look
Your phone's automatic mode is trained to make a clean, punchy, modern photo — bright, high-contrast, everything sharp. That is almost the opposite of film, which is softer, more muted, and full of gentle imperfections. When you shoot on full auto, the phone bakes in choices you'll then have to fight in editing. Shooting manually lets you capture a flatter, more neutral frame that has room to become filmic later.
You don't need to master everything at once. Learning just three sliders takes you most of the way, and each one has its own deep-dive.
The three controls that matter
A good manual camera gives you direct control over exposure and color. In plain terms:
- ISO — how sensitive the sensor is to light. Low ISO is clean; high ISO is brighter in the dark but noisier.
- Shutter speed — how long the sensor collects light. Fast freezes motion; slow lets more light in but can blur.
- White balance — whether the photo leans warm or cool. Film stocks each had their own color bias, and this is where you set yours.
If any of that sounds intimidating, don't worry — our manual camera settings explained guide walks through all three in plain language with no jargon.
Shoot so it edits well
The single biggest mindset shift is this: you're not trying to take a finished photo, you're trying to capture the best possible raw material. Protect your highlights, keep your shadows readable, and frame with a little breathing room. A frame that's exposed correctly grades into a film look in seconds; a blown-out or muddy one never quite gets there. We cover exactly how in how to shoot photos that edit well.
Make your phone behave like 35mm
Beyond exposure, a lot of the "film" feeling comes from habits: shooting at the right focal length, keeping compositions simple, avoiding the ultra-wide lens, and embracing a fixed way of working the way film photographers did with a single prime. Those small changes add up fast — see how to shoot your phone like a 35mm film camera.
Low light and golden hour
The most film-like light — warm evenings, dim interiors, that last hour of sun — is also the trickiest to shoot. This is where manual control pays off most, because auto mode tends to overexpose golden light and add ugly noise in the dark. Our best camera settings for low light and golden hour guide gives you settings you can dial in directly.
Shoot RAW so the look survives
Manual settings get you a great capture; shooting RAW keeps it editable. A RAW file holds far more color and tonal information than a JPEG, so lifted shadows, warm skin tones, and faded blacks stay smooth instead of banding. If you plan to grade toward a film look, RAW is worth it — see how to develop RAW on your phone.
Doing it in Fimii
Fimii has a manual camera built in, so you can set ISO, shutter speed, and white balance and shoot straight into the same app that develops your photo. It captures RAW (ProRAW/DNG) and develops in true 16-bit, non-destructively, so the frame you shoot keeps every bit of latitude for the grade. From there you can apply a handcrafted film preset, tune it, and add grain or halation — the whole pipeline, from shutter to final look, in one place.
Common mistakes to avoid
- Cranking ISO in the dark. Reach for a slower shutter or more light first — noise is harder to undo than blur is to avoid.
- Exposing for a finished look. Shoot a touch flat and neutral; you'll build contrast and mood in the edit.
- Skipping RAW. A baked JPEG limits how far you can push the film look before it falls apart.
- Leaving white balance on auto. Auto WB shifts frame to frame, making a consistent film look across a set much harder.
Fimii's manual camera and true 16-bit RAW develop live in one app, so you can shoot and grade a film look end to end. Free to download, one-time unlock, no subscription.
Get Fimii — free to download