Home › Guides › Manual settings explained
Manual Camera Settings Explained
Short answer: ISO is sensitivity to light (keep it low for clean shots), shutter speed is how long the sensor drinks in light (fast to freeze motion, slow for more light), and white balance sets warm vs. cool. Together they control brightness and color — the two things every film look is built on.
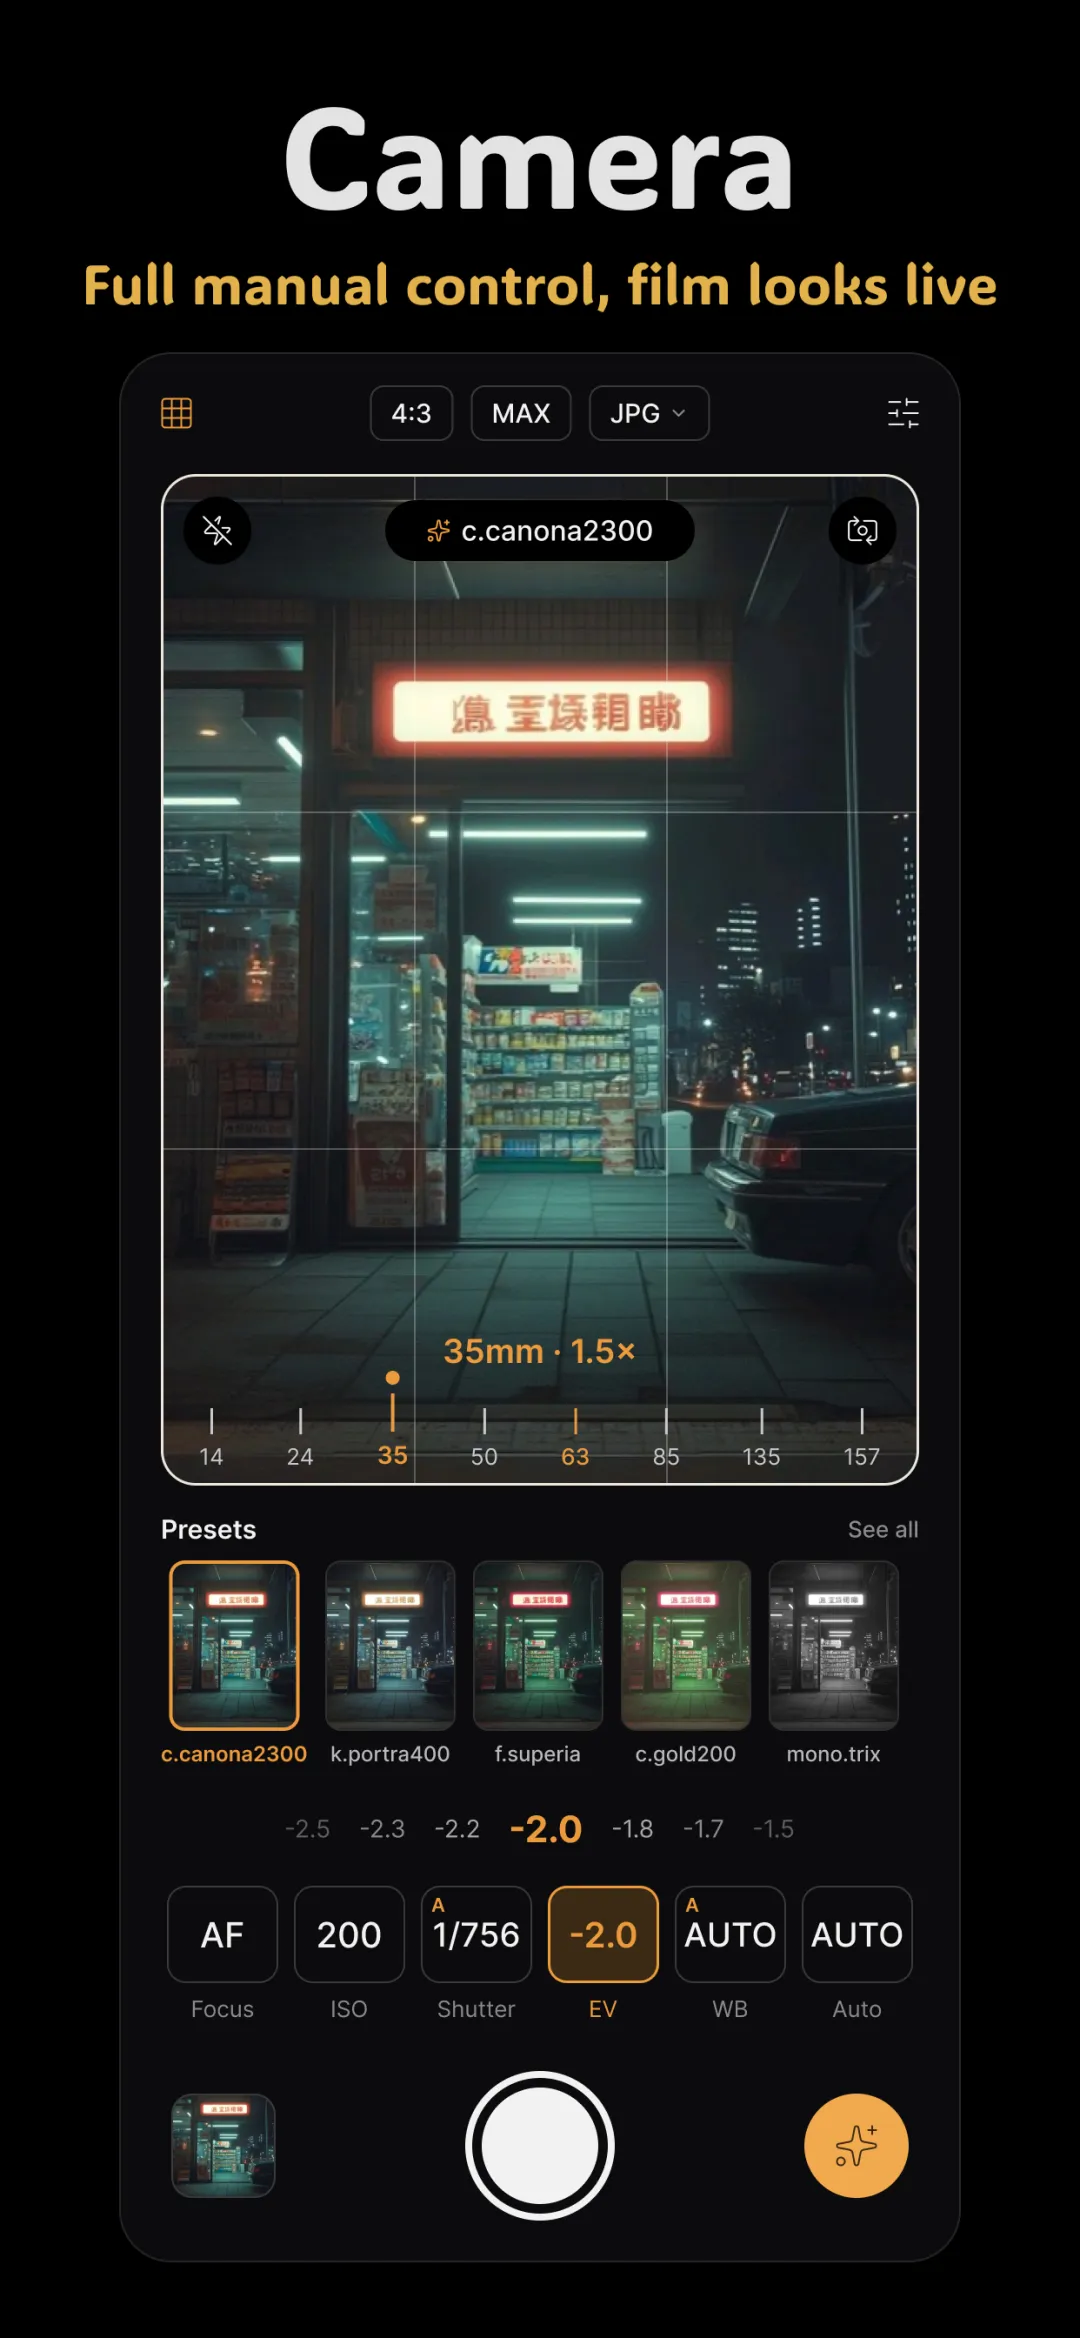
"Manual mode" sounds like it's only for professionals, but it comes down to three ideas. Once they click, you'll stop fighting your phone's auto mode and start deciding for yourself. This is the core skill behind using a manual camera app for film-style photos.
ISO: sensitivity to light
ISO controls how strongly the sensor reacts to light. It's the easiest to understand and the easiest to get wrong.
- Low ISO (50–200) — the sensor is barely amplified. You get the cleanest, most detailed image, but you need plenty of light.
- High ISO (800+) — the signal is boosted, so you can shoot in the dark, but you also boost noise: that gritty, speckled texture.
The rule of thumb: keep ISO as low as the light allows. Raise it only when you've run out of other options. A little noise can actually suit a film look, but the ugly, colored noise from a phone at ISO 6400 is not the same as pleasant film grain — for that, add real film grain effects later, in the edit.
Shutter speed: how long light comes in
Shutter speed is the length of time the sensor is exposed, measured in fractions of a second (1/1000, 1/60, and so on).
- Fast shutter (1/500+) — freezes motion crisply. Good for daylight and moving subjects.
- Slow shutter (1/30 or slower) — lets in far more light, great for dim scenes, but anything moving (including your hands) will blur.
A safe handheld minimum is around 1/60s; below that, brace against something or you'll get camera shake. Shutter speed is your main lever for brightness in the dark, which is why it's central to our low-light and golden-hour settings guide.
White balance: warm or cool
White balance tells the camera what "white" should look like, which sets the overall color temperature of the shot. Measured in Kelvin (K):
- Low K (3000–4000) — cool, blue-leaning. Good for correcting orange indoor light.
- High K (6500–8000) — warm, golden-leaning. Adds that cozy, nostalgic film warmth.
Auto white balance guesses for you, and it shifts between shots — which makes a consistent film look across a set difficult. Setting it manually locks a deliberate mood. You can always fine-tune later, since white balance is fully adjustable in the edit too.
How the three work together
ISO and shutter speed both affect brightness, so they trade off. In bright light, use low ISO and a fast shutter. As light drops, first slow the shutter (until shake becomes a risk), and only then raise ISO. White balance sits separately — it doesn't change brightness, only color. Think of it as: ISO and shutter set the exposure, white balance sets the feeling.
Doing it in Fimii
Fimii's built-in manual camera exposes exactly these three controls — ISO, shutter speed, and white balance — in a clean interface, so you can dial in a deliberate exposure instead of trusting auto. Better still, it shoots RAW, so even if your white balance or exposure isn't perfect, you can recover it cleanly afterwards. Pair manual shooting with shooting RAW on your phone and almost nothing is locked in at capture — you keep full control in the edit.
Beginner mistakes to avoid
- Reaching for ISO first. Slow the shutter or add light before you crank sensitivity.
- Shutter too slow handheld. Below 1/60s without support, expect blur.
- Trusting auto white balance for a series. Lock it manually so your shots match.
- Chasing a perfect exposure in-camera. Shoot RAW and give yourself room to finish the job in editing.
Fimii's manual camera gives you ISO, shutter, and white balance, then develops your RAW in true 16-bit so nothing's locked in at capture. Free to download, one-time unlock, no subscription.
Get Fimii — free to download