Home › Guides › Low-light settings
Best Camera Settings for Low Light & Golden Hour
Short answer: Keep ISO as low as you can, slow the shutter to around 1/60s (steady your hands or brace before going lower), warm the white balance to protect that golden glow, expose for the highlights, and shoot RAW. Low ISO plus a warm, protected exposure is the recipe for clean, filmic evening photos.
Golden hour and dim interiors give you the most beautiful, film-like light there is — and they're where phone auto mode fails hardest, blowing out the warm glow and smearing noise across the shadows. A little manual control fixes all of it. This is where your manual camera settings really earn their keep.
ISO: keep it low, raise it last
In low light the temptation is to crank ISO until the scene looks bright. Resist it — high ISO on a phone produces ugly, colored noise that no edit fully cleans up.
- Start at your base ISO (often 50–100) and only raise it once you've slowed the shutter as far as you safely can.
- Treat a moderate ISO (say 400–800) as your practical ceiling handheld; above that, quality falls off fast.
- Remember you can brighten a slightly dark RAW in the edit far more cleanly than you can remove noise.
Shutter speed: your main light lever
When light is scarce, shutter speed does the heavy lifting. A slower shutter lets the sensor gather far more light at no cost to noise.
- 1/60s is a safe handheld baseline. Around there, most people can hold steady.
- 1/30s–1/15s works if you brace against a wall, rest on a ledge, or tuck your elbows in.
- Slower still needs support — prop the phone on something solid. Motion in the frame will blur, which can look intentional and lovely, or ruin the shot.
Slow the shutter first, raise ISO second — that order keeps your images cleanest.
White balance: protect the warmth
Golden hour's magic is its warmth, and auto white balance will fight you by trying to "correct" it back to neutral. Set white balance manually and lean warm — a higher Kelvin value (around 5500–7000K) — to keep that honeyed glow instead of letting the camera cancel it. Indoors under tungsten light, a warm setting embraces the cozy amber rather than flattening it. This is exactly the mood behind the golden hour film look.
Expose for the highlights
Low-light scenes are often high-contrast: a bright window, a lamp, the sun low on the horizon. Expose so those bright points don't clip to pure white, and let the shadows sit dark and moody. Deep, rich shadows are part of the nighttime film aesthetic — you don't need to light up every corner. You can always lift shadows later; blown highlights are gone.
Shoot RAW, always
RAW matters most in low light. A RAW file lets you brighten shadows, fine-tune that warm white balance, and pull back any near-clipped highlights — all without the banding and noise amplification a JPEG suffers. It's the difference between a salvageable evening shot and a muddy one. Pair this with the practice of learning to shoot photos that edit well.
Doing it in Fimii
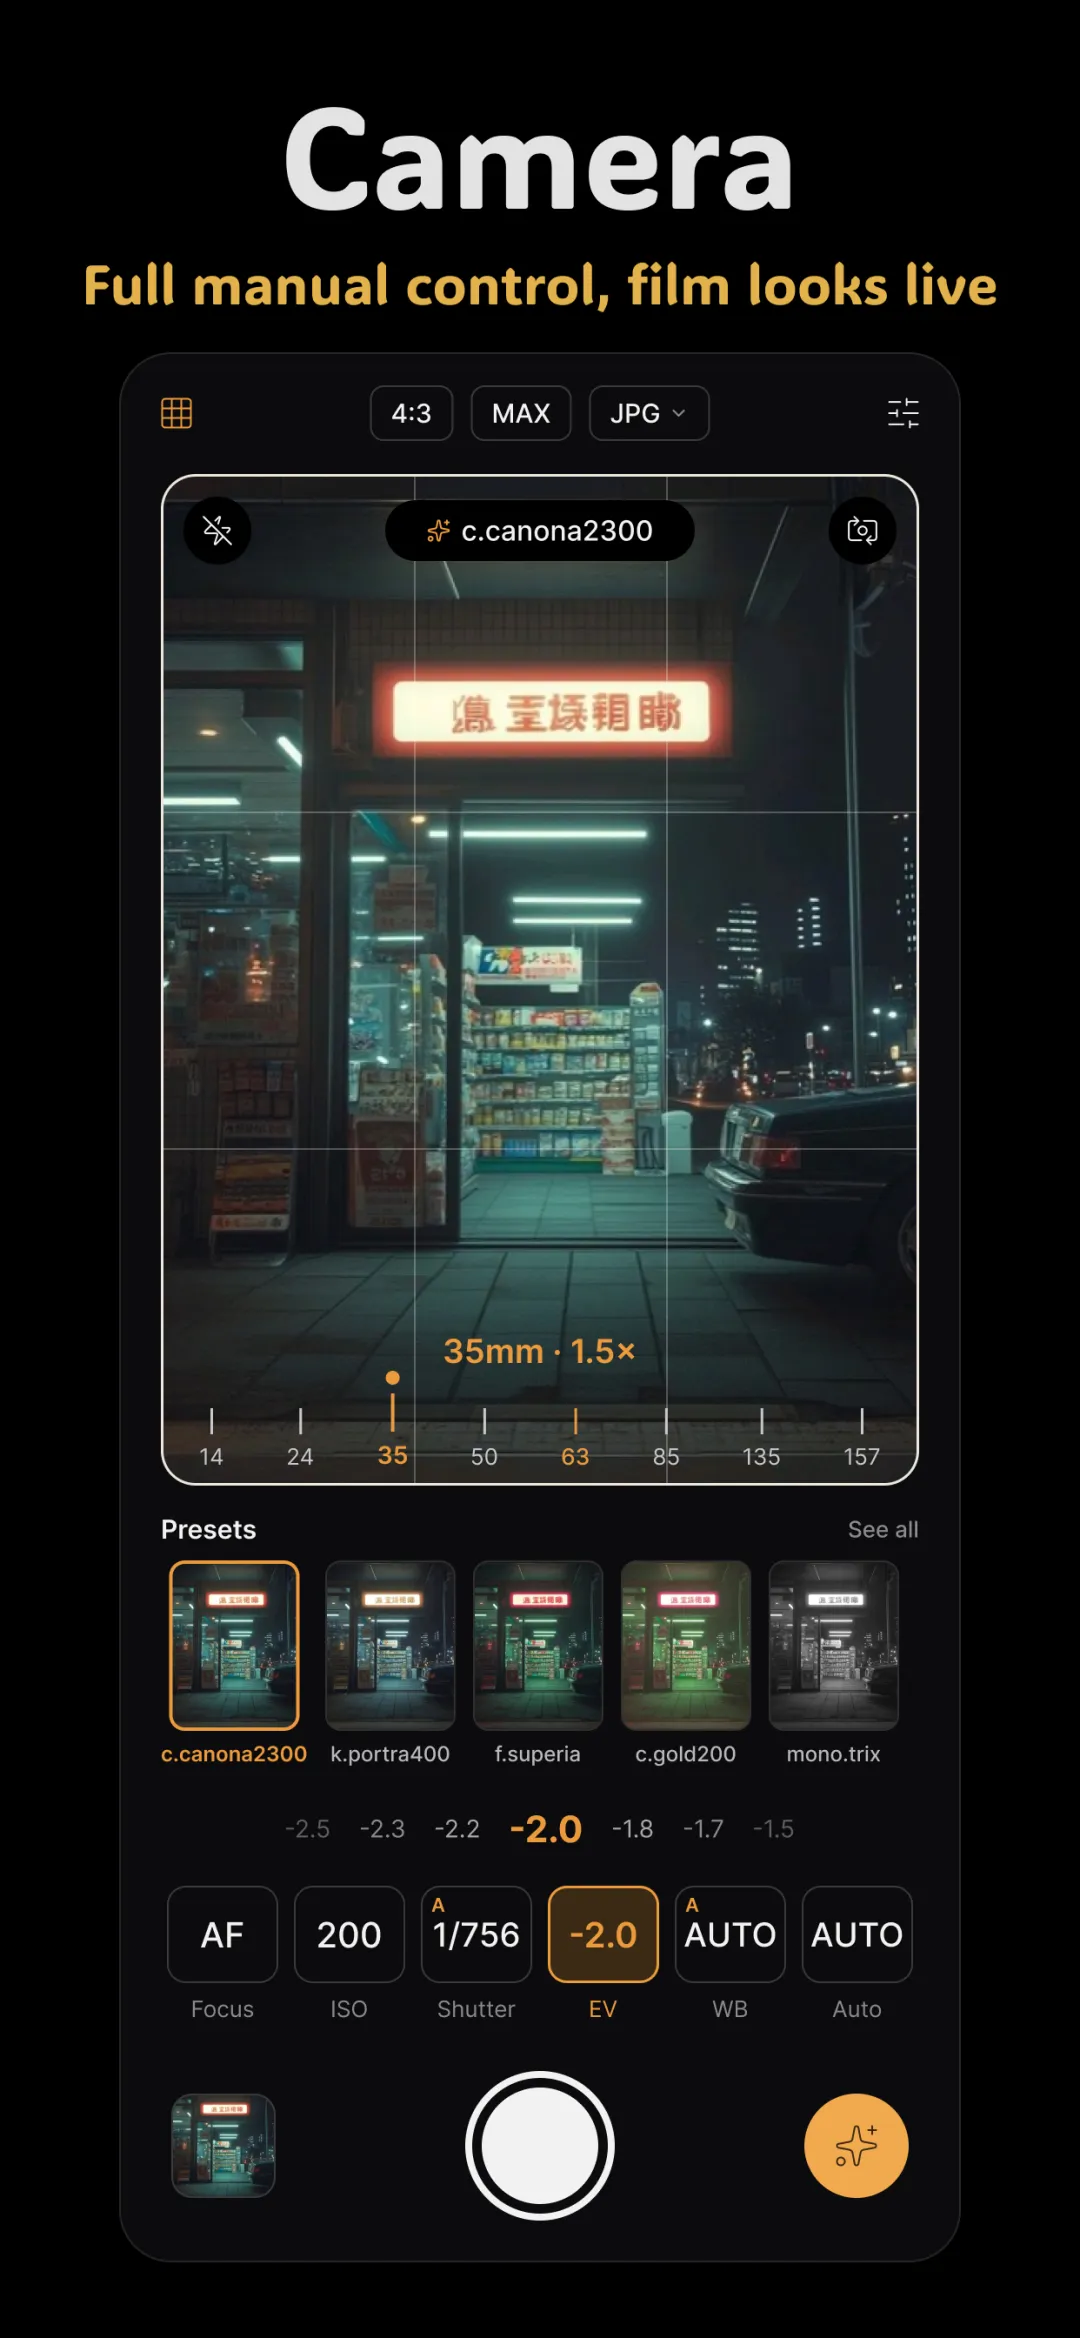
Fimii's manual camera lets you set a low ISO, a deliberate shutter speed, and a warm white balance, then capture RAW and develop it in true 16-bit. That means you can lift dim shadows and recover highlights cleanly, with none of the banding that wrecks 8-bit night shots. For a moody, tungsten-lit night look with glowing highlights, grade toward the CineStill 800T look — the classic after-dark film stock, reproduced right down to the halation around lights.
Common mistakes to avoid
- Cranking ISO first. Slow the shutter and steady your hands before you touch sensitivity.
- Letting auto WB kill the warmth. Lock a warm white balance to keep golden light golden.
- Trying to light every shadow. Dark, rich shadows are part of the look — don't fight them.
- Shooting JPEG at night. You lose the latitude that makes low-light recovery possible.
Fimii's manual camera and true 16-bit RAW develop let you shoot clean, warm low-light frames and recover them beautifully. Free to download, one-time unlock, no subscription.
Get Fimii — free to download