How to Shoot Photos That Edit Well
Short answer: Shoot for the edit, not the moment. Protect your highlights, keep shadows off pure black, expose a touch flat, nail focus, and leave framing room. A clean, neutral capture turns into a film look in seconds — a blown-out or crushed one never fully recovers.
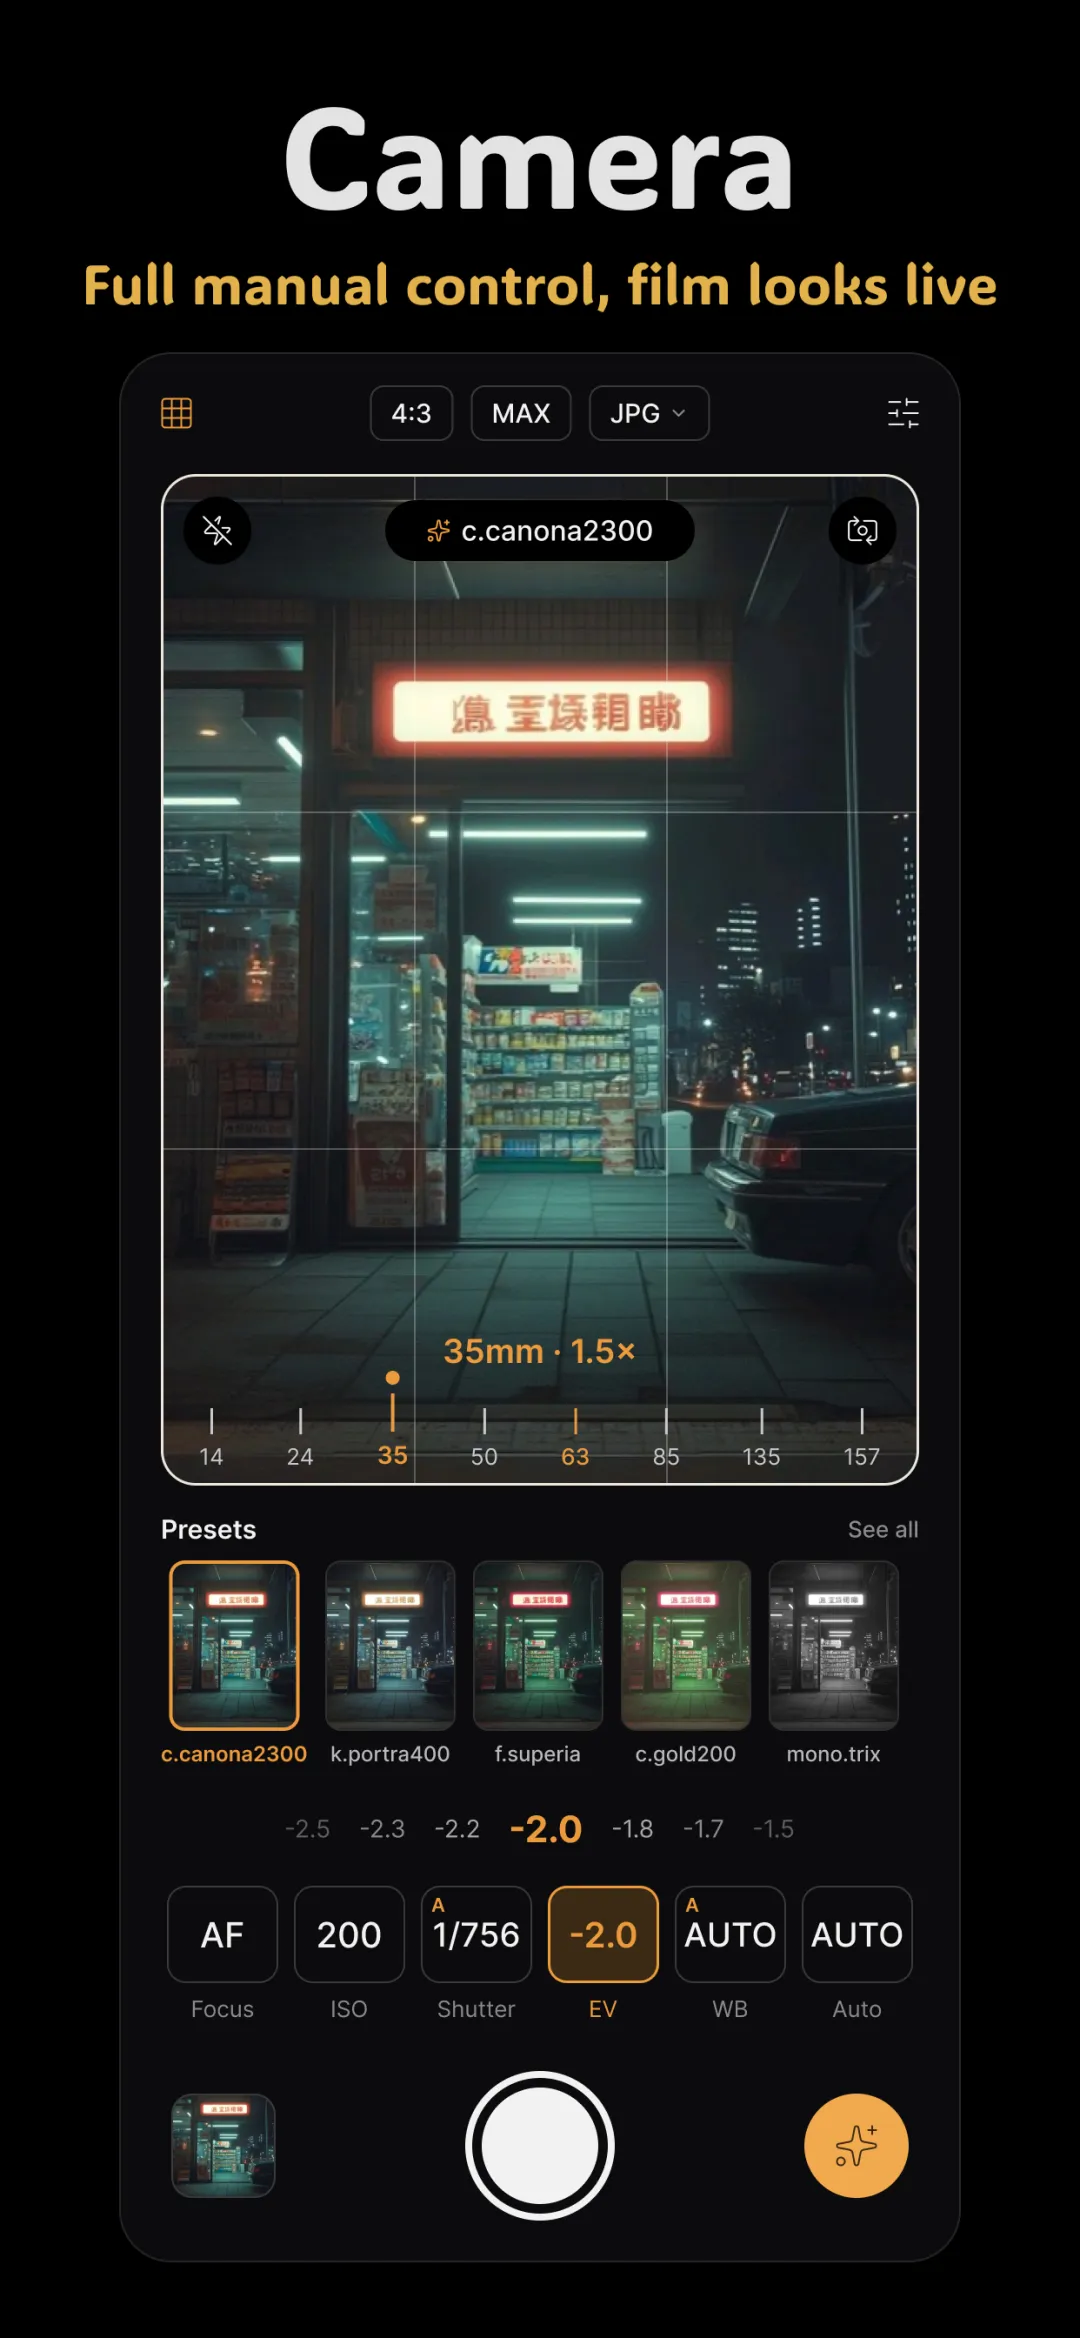
The film look is mostly made in the edit — but only if the photo you captured left room for it. The best editors in the world can't rebuild detail that was never recorded. Shooting "to edit" means capturing the richest possible raw material, then shaping the mood afterwards. It's the natural next step after learning your manual camera settings.
Protect your highlights first
This is the single most important habit. Once a highlight clips to pure white — a bright sky, a sunlit cheek — that detail is gone forever, and no slider brings it back. Shadows are far more forgiving; you can lift them later. So when a scene is high-contrast, expose for the bright parts and let the shadows fall darker. You can always raise shadows in the edit; you can't un-blow a highlight.
Expose a touch flat
A flat, slightly-underexposed frame looks dull on your screen — and that's exactly what you want. Film grades love a neutral starting point:
- Avoid deep, crushed blacks at capture — you'll lift and fade them for that matte look later.
- Avoid heavy in-camera contrast and saturation — those are creative choices best made in editing.
- Aim for an even, readable image where you can still see into both the brights and the darks.
Think of it like a chef prepping neutral ingredients rather than serving a pre-seasoned dish. All the flavor — the contrast, the color cast, the fade — gets added deliberately when you develop the RAW on your phone.
Shoot RAW for maximum latitude
A JPEG throws away most of the sensor's data the instant you shoot. RAW keeps it all — far more color and tonal range — which is exactly what you're drawing on when you push a film grade. Lifted shadows stay clean, warm skin tones hold up, and skies don't band. If you're serious about editing, RAW is the difference between a look that holds together and one that falls apart under pressure.
Compose with room to move
Editing isn't only color. Give yourself framing latitude at capture:
- Leave a little space around the subject so you can crop to a classic film ratio (like 3:2) without losing anything important.
- Keep horizons and verticals honest — straightening later costs you edge pixels.
- Nail focus. Color and contrast are fixable in post; a missed focus is not.
Keep a consistent starting point
If you're shooting a set you want to look cohesive, lock your white balance manually instead of letting it drift shot to shot. A consistent capture makes it far easier to apply one film preset across the whole series and have it land the same way every time — which is how photographers get that unified "roll of film" feeling.
Doing it in Fimii
Fimii is built for exactly this workflow. Shoot RAW in its manual camera protecting your highlights, then develop in true 16-bit — so when you lift those flat shadows and fade the blacks, everything stays smooth and band-free. Because the whole pipeline is non-destructive, you can push a grade hard, back it off, or reset entirely without ever degrading the original capture. Shoot flat, grade rich, keep the file intact.
Common mistakes to avoid
- Chasing a finished look in-camera. Heavy contrast and saturation at capture limit what you can do later.
- Blowing the highlights. Watch the bright areas; clipped whites can't be recovered.
- Framing too tight. Leave crop and straightening room.
- Shooting JPEG when you plan to grade. You throw away the latitude a film look leans on.
Shoot flat and protected in Fimii's manual camera, then grade rich on true 16-bit RAW — the capture and the film look, in one non-destructive workflow. Free to download, one-time unlock, no subscription.
Get Fimii — free to download