Home › Guides › Recover highlights & shadows
Recover Highlights & Shadows from RAW
Short answer: A RAW file holds detail your eye can't see in the preview — bright skies and dark corners that look lost are often still there. Pull the Highlights slider down to bring back skies, push Shadows up to open the darks, and set your black and white points last so the photo keeps its punch.
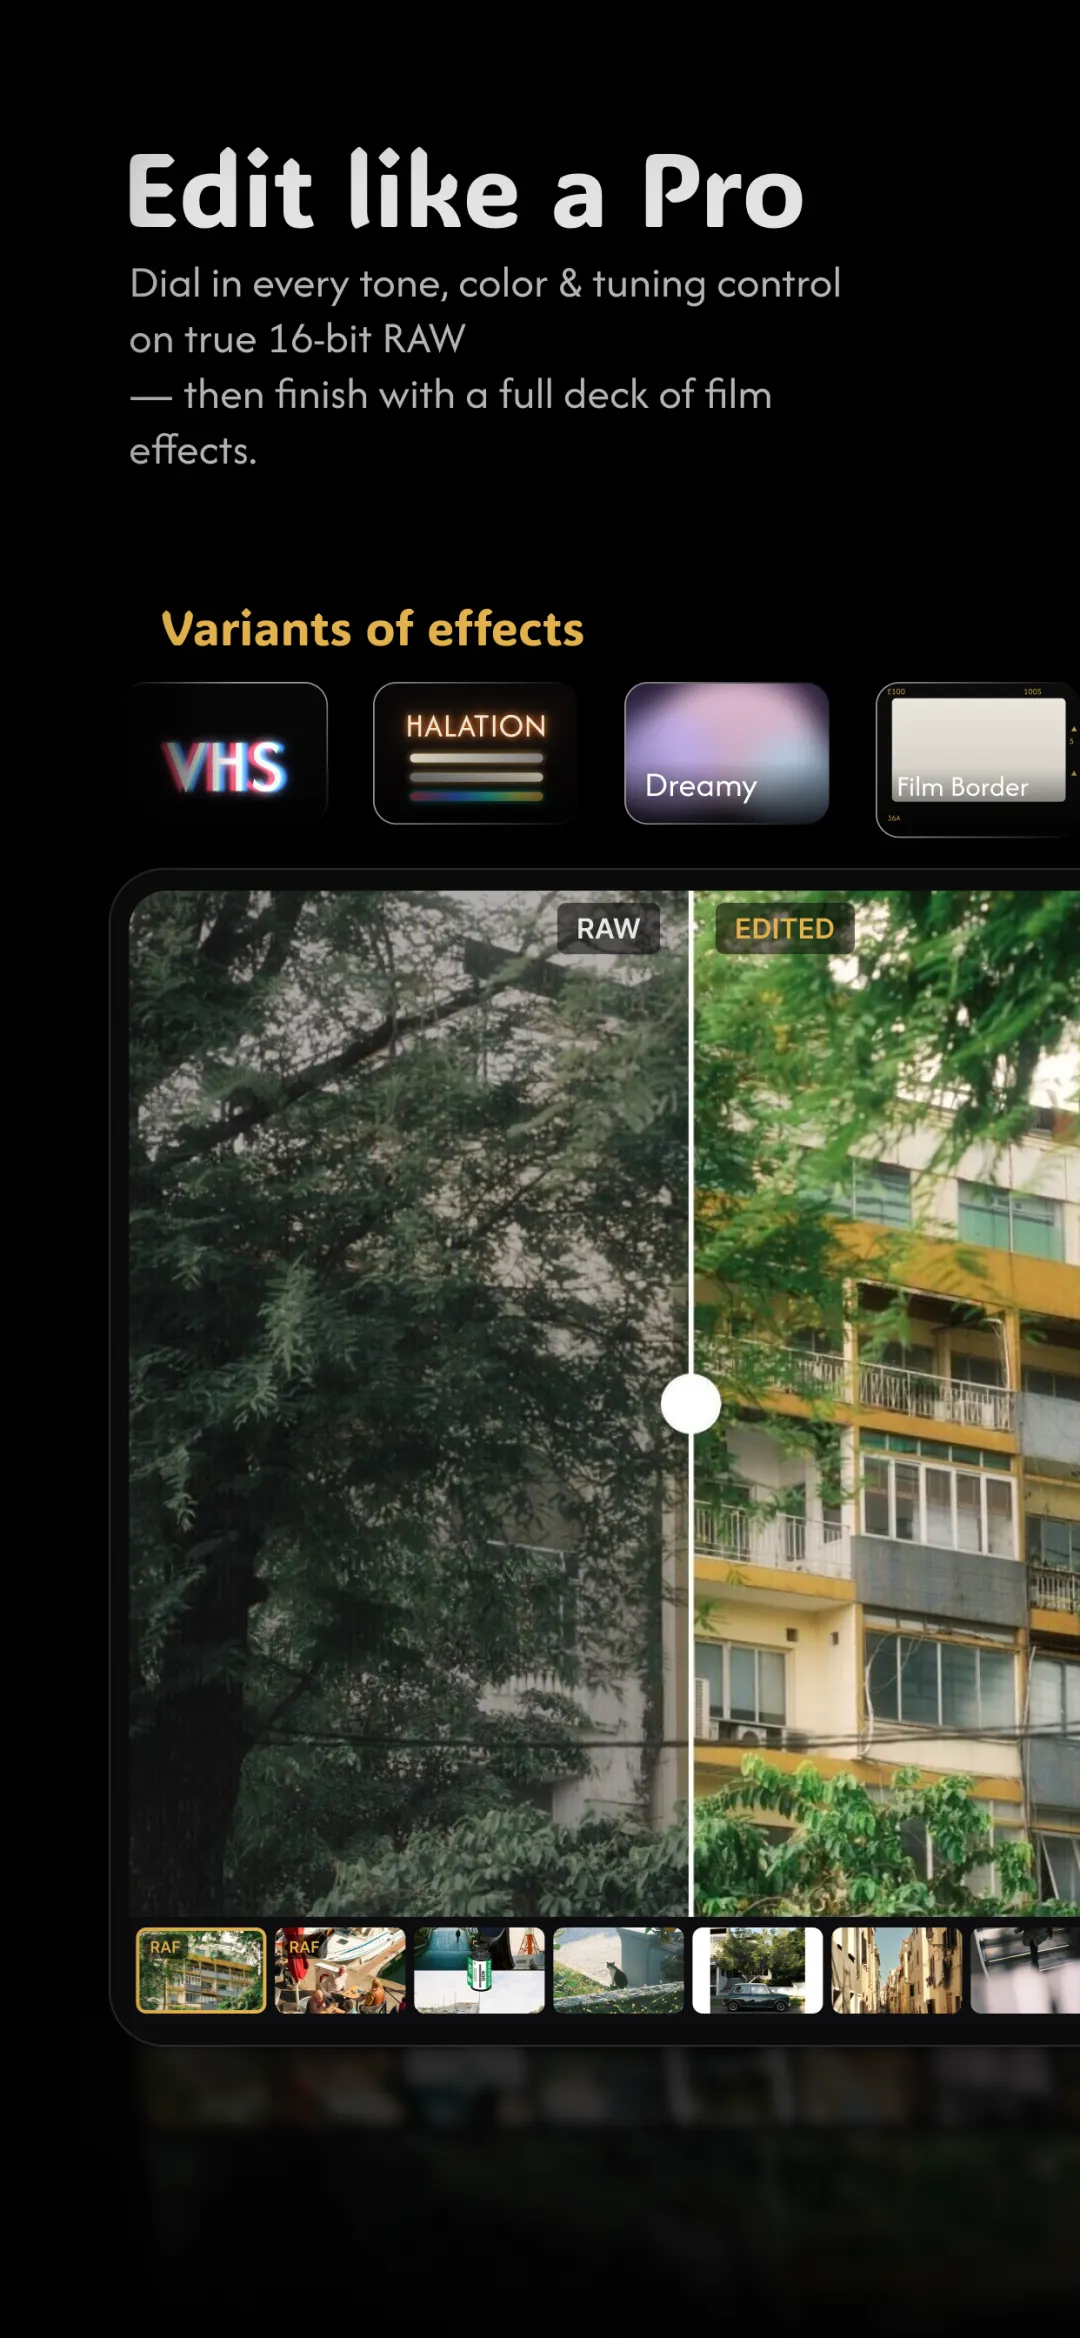
This is the single most satisfying thing about shooting RAW: rescuing a photo that looked ruined. Because a RAW keeps far more range than a JPEG, tones that appear clipped are frequently just hidden. It's the practical payoff of developing RAW on your phone.
What "recoverable" really means
Recovery only works on detail that was actually captured. A slightly overexposed sky or a face in shade usually still holds information in the RAW; a completely blown white — pure 255, no texture at all — is gone for good, and no slider brings it back. The skill is learning to tell the difference so you don't chase detail that was never recorded.
- Highlights that are bright but not pure white → recoverable.
- Shadows that are dark but not solid black → recoverable, with some noise.
- Pure clipped white or true black → not recoverable; protect these when you shoot.
Bringing skies and highlights back
Start with the Highlights slider and pull it down. Watch a washed-out sky regain its blue and its clouds. If the very brightest points still cling, a touch of the Whites control finishes the job. Work gently — dragging highlights all the way down can leave the image looking flat and grey, so stop as soon as the detail reappears.
Opening up the shadows
Push the Shadows slider up to reveal detail hiding in the dark areas — a backlit subject's face, texture in a shaded wall. The trade-off is noise: shadows carry the least clean data, so the further you lift, the grainier they get. Lift only as far as you need, and remember that a little shadow noise reads as natural film-like grain rather than a flaw.
Setting contrast back after recovery
Recovering highlights and shadows flattens the photo — that's expected. Once the detail is back, rebuild contrast deliberately: set a true black point so the darkest area still feels anchored, and a clean white point so highlights sparkle. A gentle S-shaped tone curve is the classic way to put the punch back without undoing the detail you just rescued.
Doing it in Fimii
Fimii develops the RAW in true 16-bit, which is exactly why recovery holds together: when you lift a shadow two or three stops, there are still thousands of tonal values to keep the gradient smooth instead of banding — the whole reason 16-bit editing matters. Highlights, Shadows, Whites, Blacks, curves and white balance all run on that depth, non-destructively, so you can push hard and reset with a tap. Recover first, then grade or drop a film preset on top.
Mistakes to avoid
- Trying to save a pure-white sky. If there's no texture in the RAW, it can't come back — expose to protect highlights next time.
- Lifting shadows to the max. You'll expose noise and flatten the image. Lift only what you need.
- Skipping the black point. A photo with no true black looks washed out; anchor it after recovery.
- Recovering a JPEG and expecting the same result. An 8-bit JPEG has almost no hidden range — this only works properly on RAW.
Fimii recovers highlights and shadows from your RAW in true 16-bit — rescue skies and open shadows without banding. Free to download, one-time unlock, no subscription.
Get Fimii — free to download