Home › Guides › How to shoot RAW on phone
How to Shoot RAW on Your Phone
Short answer: On iPhone, enable ProRAW in Settings → Camera → Formats, then tap RAW in the camera. On Android, open Pro/Expert mode and set format to RAW/DNG. Then expose for the highlights, keep ISO low, and hold steady — the file develops later, so protect detail now.
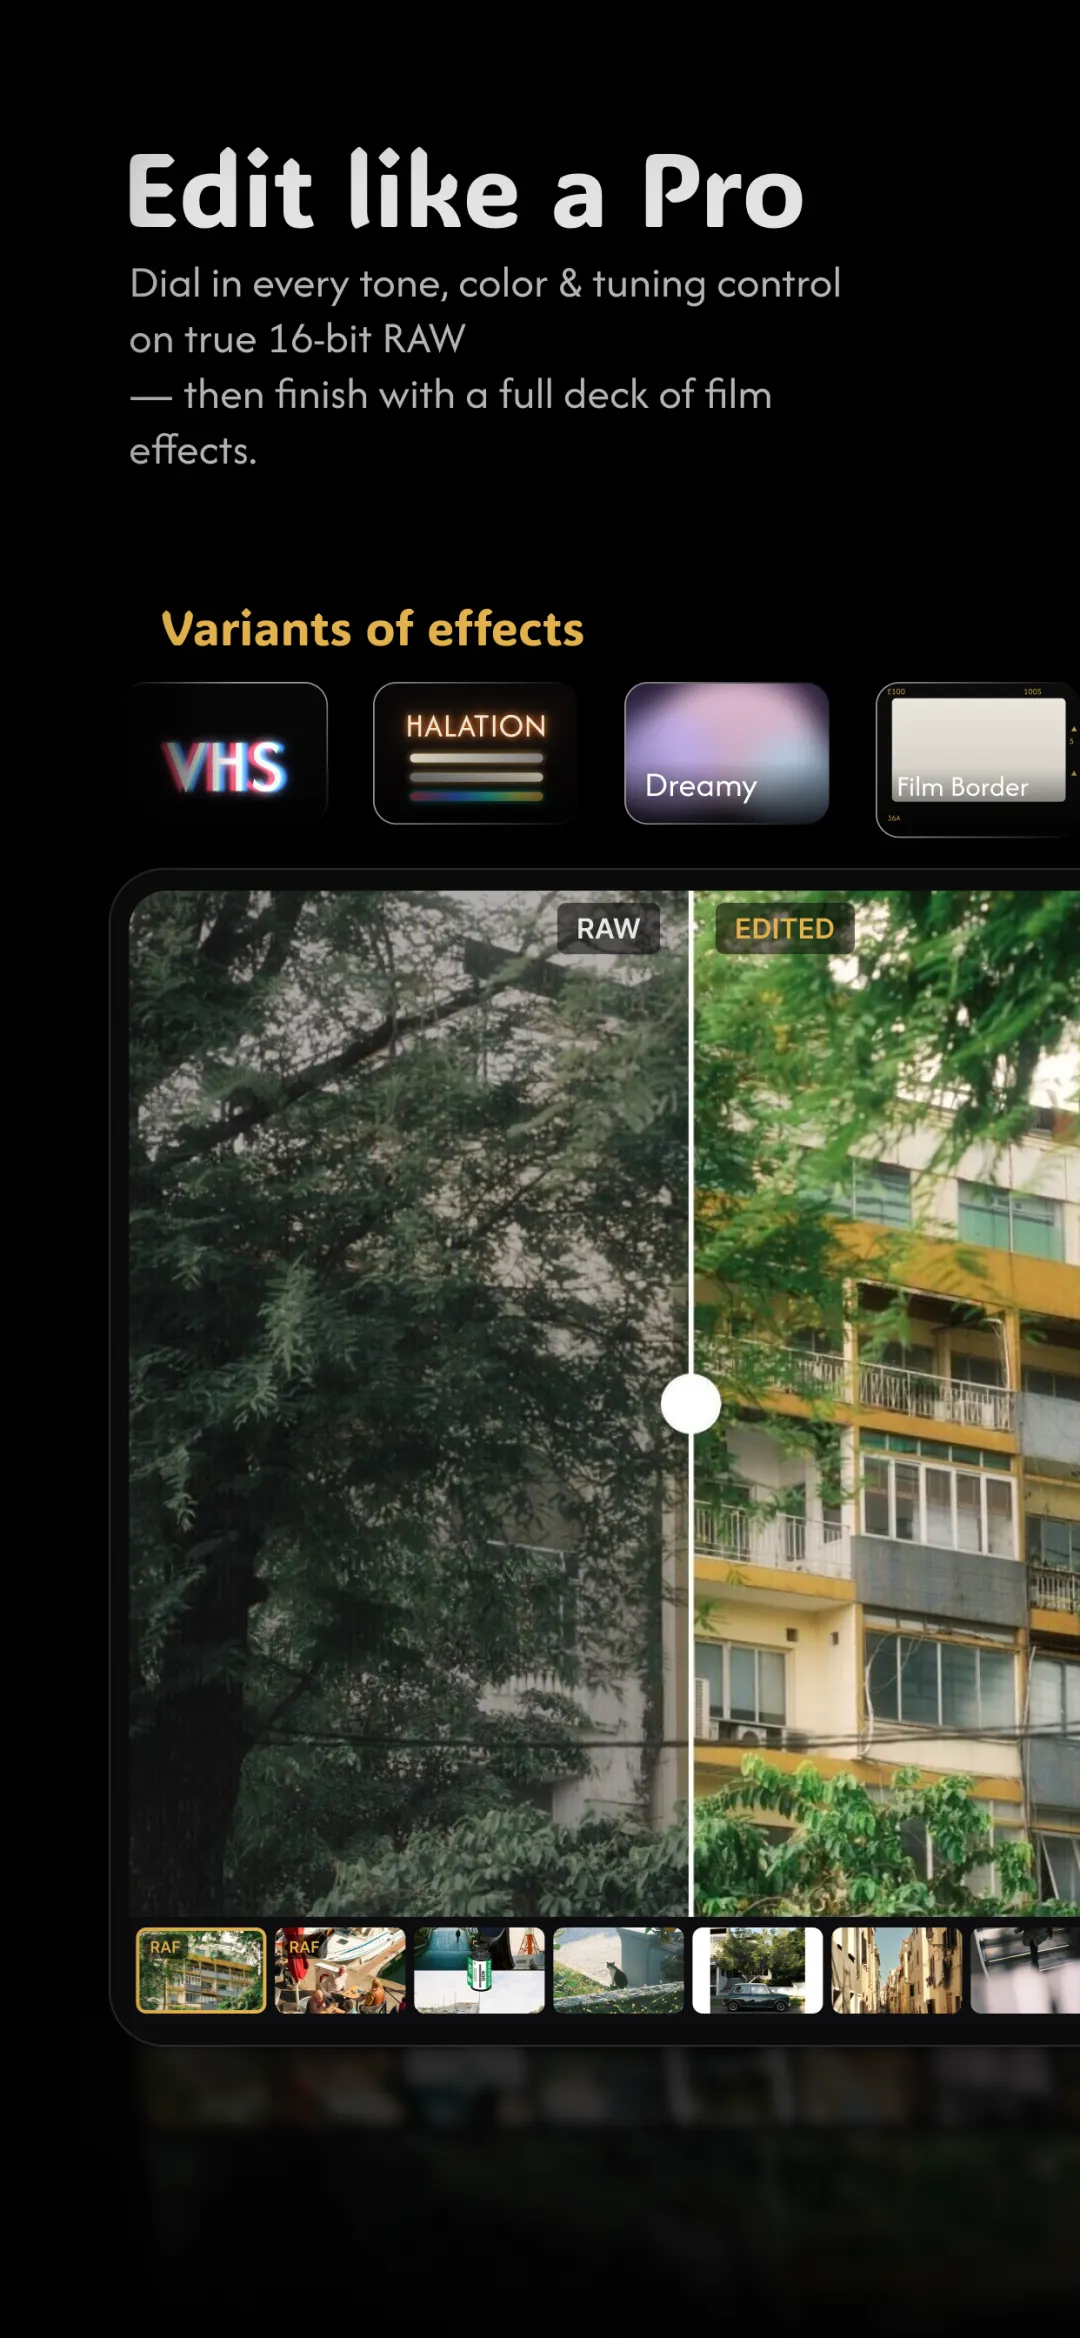
Shooting RAW is the first half of developing RAW on your phone; you can't recover what you never captured. The good news is that turning it on takes about thirty seconds, and once it's on, every important shot has room to be edited properly.
Turn on RAW on iPhone (ProRAW)
Apple ProRAW is available on iPhone 12 Pro and newer Pro models. Enable it once, then toggle it per shot.
- Go to Settings → Camera → Formats and turn on Apple ProRAW (newer phones let you choose ProRAW resolution too).
- Open the Camera app. Tap the RAW badge in the top corner so it's not crossed out — that means RAW is active for the next shot.
- iPhone remembers the setting per session depending on your preferences, so glance at the badge before an important frame.
Turn on RAW on Android (DNG)
Most flagship and mid-range Androids shoot DNG through Pro or Expert mode; some put it in the main settings. Wording varies by brand, but the idea is the same.
- Open the camera, switch to Pro / Expert mode.
- Find the file-format control and choose RAW or RAW + JPEG. Picking both keeps a shareable JPEG alongside the DNG.
- If your camera app has no RAW option, a third-party manual camera app can add one.
Settings that actually matter
RAW captures more, but it doesn't fix a badly exposed shot. A few habits make every file easier to develop:
- Expose for the highlights. Bright detail, once clipped, is gone even in RAW. Let the shadows sit a little dark — you'll lift them later.
- Keep ISO as low as the light allows. Low ISO means less noise and cleaner shadows to recover from.
- Don't chase white balance in-camera. RAW lets you set it perfectly afterward, so don't fuss over it while shooting.
- Hold steady. RAW rewards sharp capture; brace against something or use a short delay.
If you want to take manual control of ISO and shutter deliberately, that's the world of manual camera settings — RAW and manual are a natural pair.
Doing it in Fimii
Fimii has a built-in manual camera with control over ISO, shutter, and white balance, so you can capture a well-exposed frame and develop it without ever leaving the app. Whatever you shoot — ProRAW, DNG, or a file from your gallery — Fimii develops it in true 16-bit, non-destructively, so all the latitude you captured is there to work with. Not sure it's worth the bigger files? See RAW vs JPEG for exactly what you gain.
Mistakes to avoid
- Overexposing to "see more." Blown highlights don't come back. Slightly darker is safer with RAW.
- Leaving RAW on for everything. Your storage fills fast — reach for it when the shot matters.
- Expecting a finished look in-camera. A RAW is meant to look flat until you develop it.
- Forgetting to check the badge. The most common miss is thinking RAW was on when it wasn't.
Shoot with Fimii's manual camera or import your ProRAW and DNG files — then develop them in true 16-bit on your phone. Free to download, one-time unlock, no subscription.
Get Fimii — free to download