Home › Guides › Add film grain and effects
How to Add Film Grain and Analog Effects
Short answer: Add analog effects last, after color grading. Keep grain subtle, use halation only on bright highlights, add light leaks sparingly, and frame with a film border if you want the full analog feel. Restraint is what separates "cinematic" from "gimmicky".
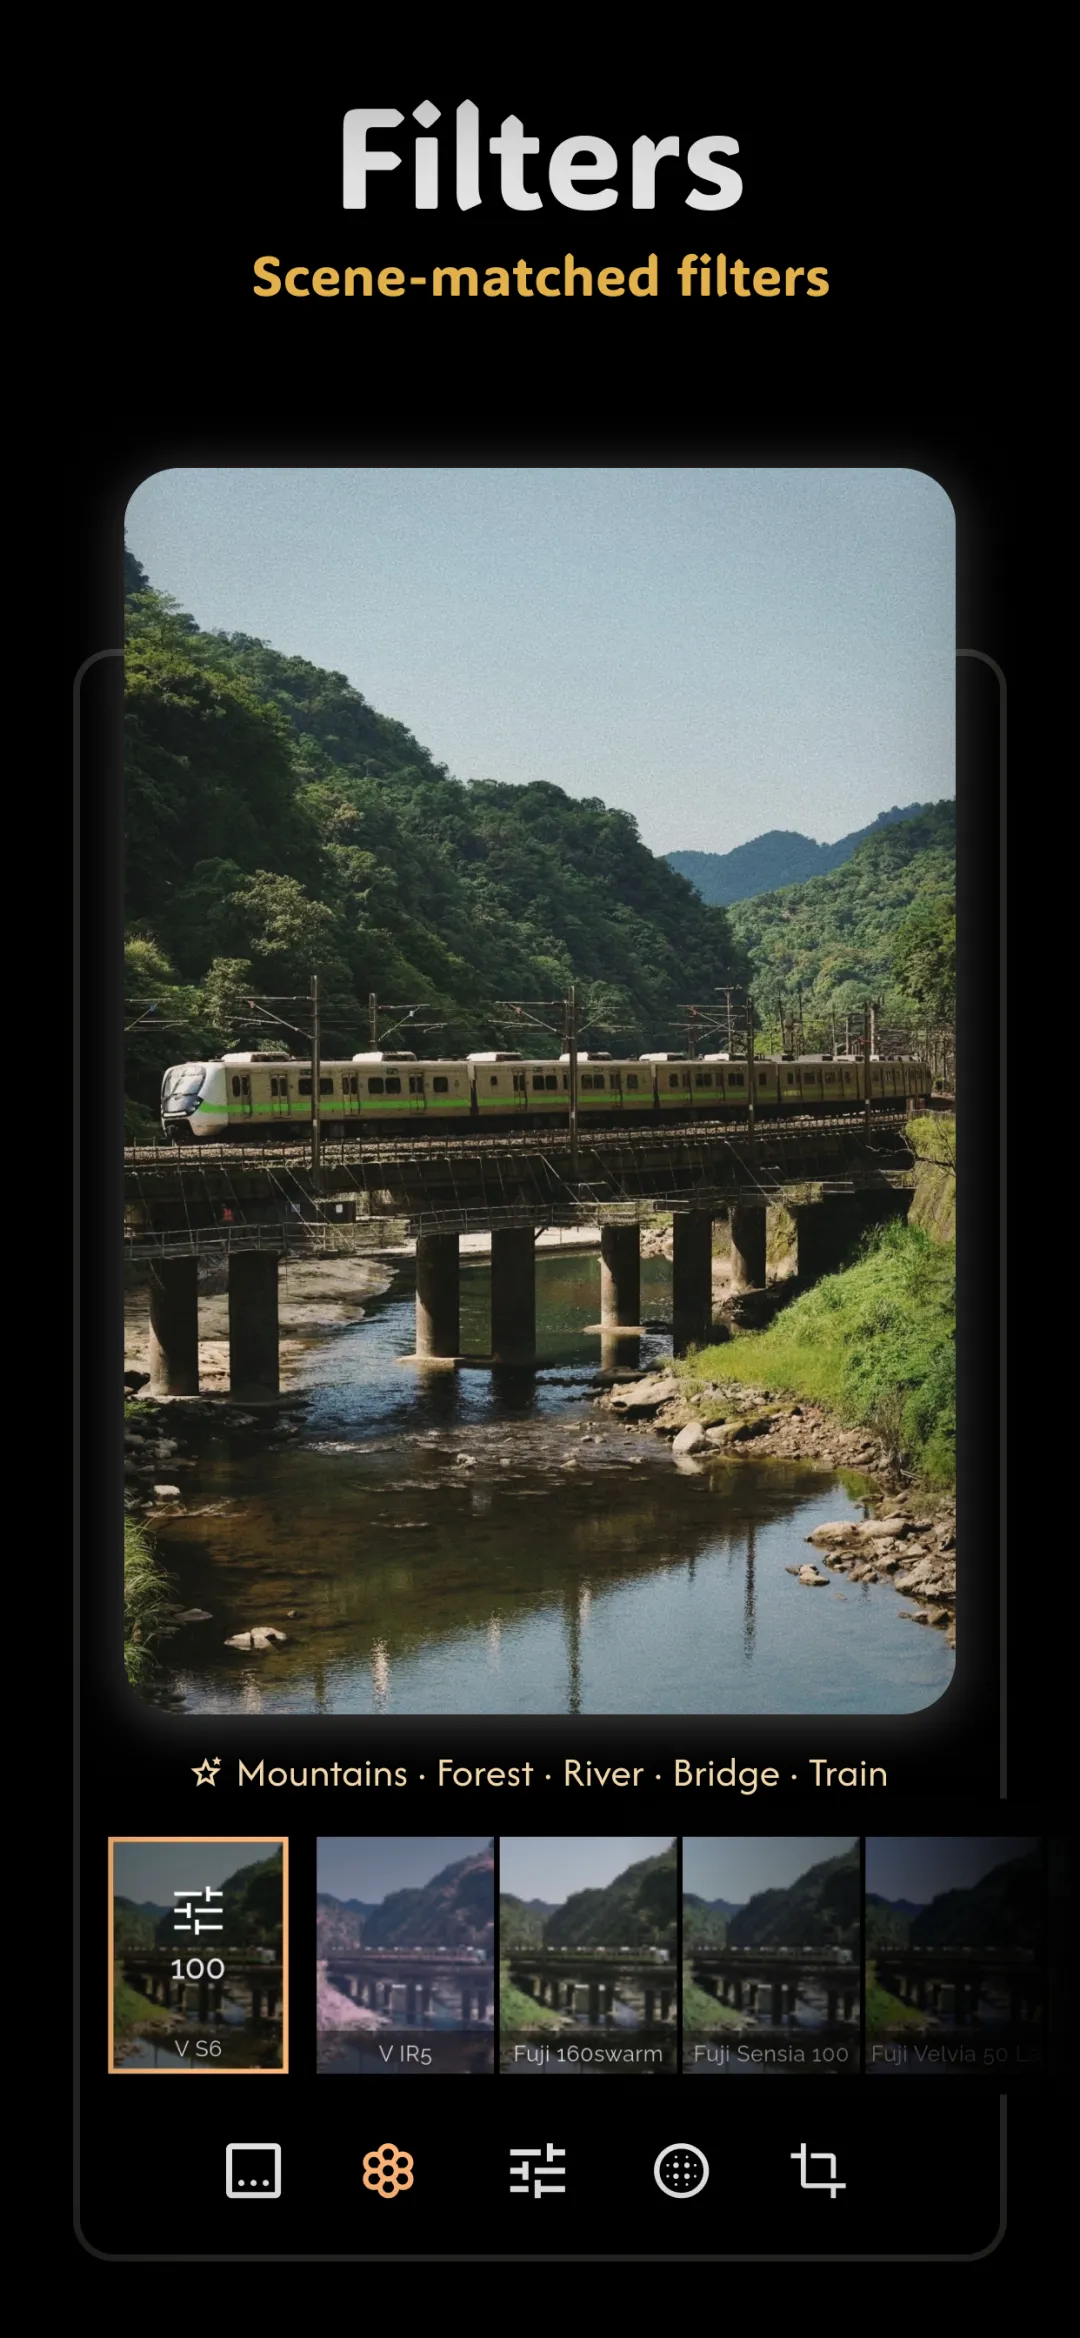
Analog effects are the finishing touches that make a clean digital photo feel shot on film. Used lightly, they add texture and warmth; overdone, they look like a novelty filter. Here's what each effect is and how to use it well.
Film grain
Grain is the fine texture real film leaves across an image. It hides the "too-perfect" smoothness of digital and adds a tactile, organic feel. Keep it subtle — just enough to sense, not enough to distract. Coarser grain suits moody black-and-white; fine grain suits soft color portraits.
Halation
Halation is the soft red-orange glow that blooms around bright highlights on film — think a streetlight or the sun catching hair. Apply it only where the photo is genuinely bright; a little halation on highlights reads as cinematic, while too much fogs the whole image.
Light leaks
Light leaks are streaks of colored light that appeared when stray light hit the film. They add spontaneity and warmth, usually in a corner or along one edge. Use them sparingly — one tasteful leak per photo, and never covering the subject's face.
Dreamy diffusion and VHS
- Dreamy diffusion: a soft bloom that lifts contrast slightly and softens edges — great for portraits and golden-hour scenes.
- VHS: scan lines, slight color bleed, and a retro shift — a bolder, nostalgic look for a specific vibe rather than everyday edits.
Film borders
A film border frames your photo with the sprocket holes and rebate edge of a real film strip. It's the quickest way to signal "this is a film look" and works especially well for a cohesive set posted together.
The order that keeps it tasteful
- Correct exposure and white balance.
- Apply your film preset or color grade.
- Add grain (subtle).
- Add halation on highlights only.
- Add a light leak or border if the photo calls for it.
Doing effects last — on top of a properly graded image — is what keeps the result looking intentional instead of buried under filters.
Matching grain to the photo
Grain isn't one-size-fits-all. The amount and coarseness that flatters one image can wreck another, so it helps to match the grain to the mood and content of the shot.
- Heavier grain suits moody, high-contrast, and black-and-white images, where texture reinforces the gritty or timeless feel.
- Light grain suits portraits and soft, pastel scenes, where you want just a hint of texture without roughening smooth skin or gentle color.
- Mind the grain size at export resolution. Grain that looks right on a small preview can turn coarse or muddy on a full-resolution export. Judge it at the size you'll actually share.
It also helps to let the subject guide you. A quiet portrait usually wants texture you can barely name, while a dramatic street scene at night can carry much more. When in doubt, start lighter than you think you need and build up — it's easier to add a little more grain than to notice, too late, that it's overwhelming the photo.
Layering effects without overdoing it
The temptation with analog effects is to stack everything at once — grain, halation, a leak, a border, a diffusion glow. That's usually how a photo tips from cinematic into gimmicky. Restraint reads as intent.
- Pick one or two. A combination like grain plus a touch of halation is often all a photo needs. Adding more rarely improves it.
- Keep strengths modest. Each effect at a gentle setting tends to blend; several at full strength fight each other and flatten the image.
- Check at 100%. Zoom in to see how the effects actually render at full size, not just how they look on a shrunk-down preview.
Exporting so your effects survive
All the care you put into grain and glow can be undone at the export step. Fine texture is exactly the kind of detail that compression throws away first, so how you save the file matters.
- Export at high resolution. A larger file preserves the fine structure of grain and the smooth falloff of halation.
- Avoid heavy re-compression. Saving at low quality, or re-exporting an already compressed image again, smears grain into blocky noise and muddies subtle effects.
- Export once from the edit. Go from your full edit straight to a good-quality file rather than screenshotting or re-saving, which degrades the result each pass.
Fimii includes film grain, halation, dreamy diffusion, VHS, and authentic film borders — all adjustable, all non-destructive.
Get Fimii — free to download