Home › Guides › How to add film grain
How to Add Film Grain to Photos
Short answer: add realistic film grain, not digital noise. Keep the intensity low, match the grain size to the film stock you're imitating, and remember that real grain shows most in the midtones and shadows — not the bright highlights. It's one of the core film effects that sells the analog look.
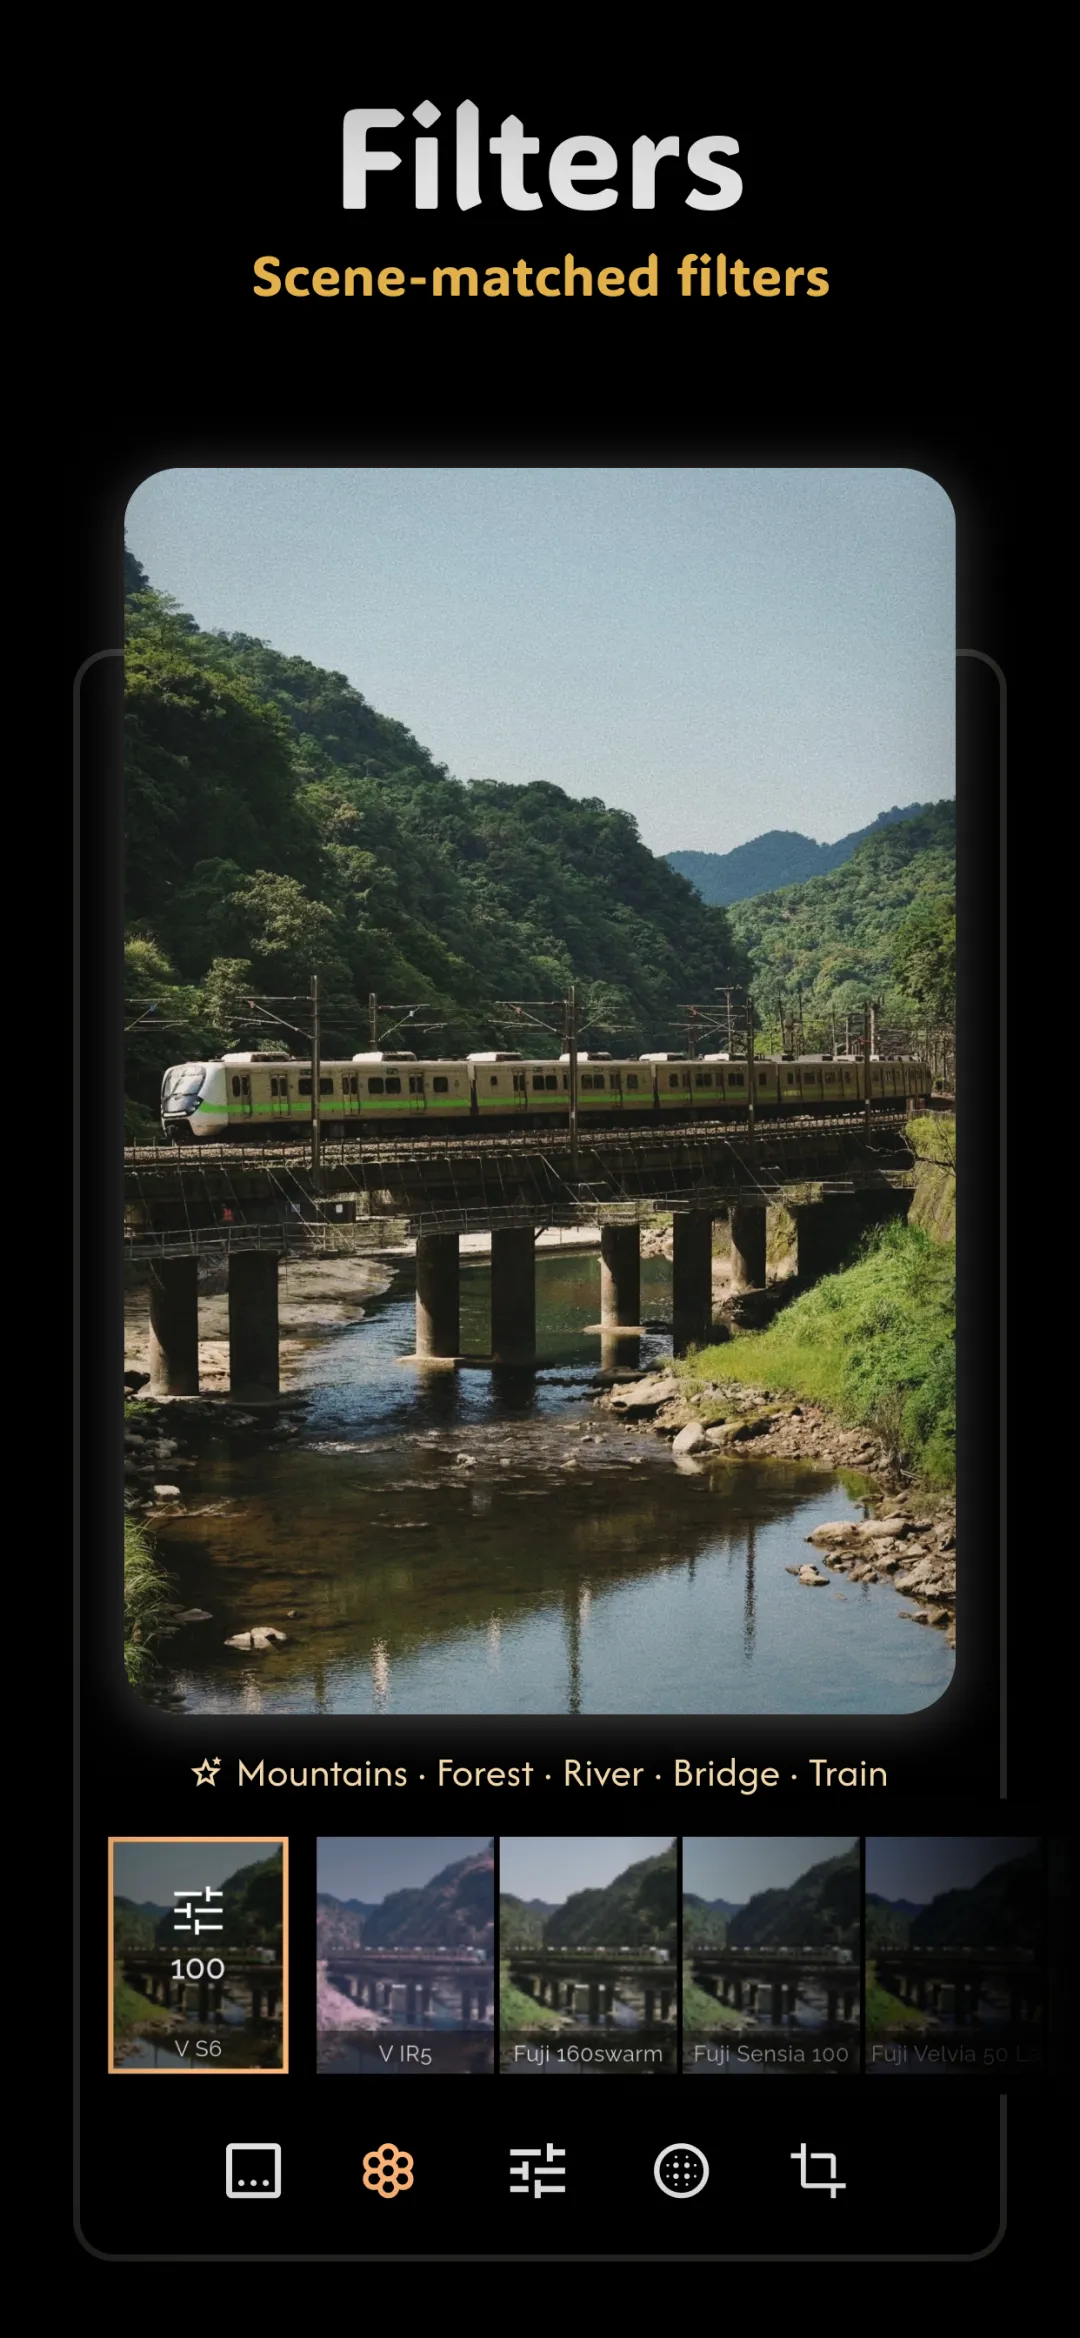
Grain is the texture that makes a digital file feel like it was shot on film. But there is a right way and a wrong way to add it, and the difference is exactly what separates a convincing film look from a photo that just looks noisy. Grain is one of the cornerstone film effects, so it's worth understanding what you're actually simulating.
Grain is not the same as digital noise
People use the words interchangeably, but they are opposites. Real film grain comes from silver halide crystals — tiny clumps of varying size scattered through the emulsion. It has organic structure and a slightly soft edge, and it stays consistent across a frame. Digital noise is per-pixel electronic error: hard, often colored speckles that appear in the shadows when a sensor is pushed past its comfort zone.
- Film grain reads as texture — it adds a tactile, silvery bite the eye enjoys.
- Digital noise reads as a broken photo — mushy, colored, and unpleasant.
- Good grain is usually monochrome (luminance) texture; ugly noise is chroma noise with random color specks.
The takeaway: you want to clean up digital noise first, then add film grain on purpose. Stacking grain on top of noise just doubles the mess.
Getting size and intensity right
Two controls do almost all the work: grain size and intensity (amount). Size decides how coarse the texture feels; intensity decides how strongly it shows.
- Size should follow the film you're imitating. Fine 35mm stocks like Portra have tight, subtle grain; fast, pushed film and older stocks have chunkier grain. Bigger prints and larger "formats" read as finer grain relative to the image.
- Intensity should be lower than you think. Grain you consciously notice at normal viewing distance is almost always too strong. Aim for texture you feel more than see.
A good habit is to set intensity while zoomed out to the full frame, not while pixel-peeping at 100%. Grain that looks perfect at 100% will scream when the whole photo is on screen.
Grain lives in the midtones
This is the detail most fake grain gets wrong. Real film grain is not uniform across the tonal range. It is most visible in the midtones and shadows and least visible in the bright highlights, where the emulsion is fully exposed. If grain is painted evenly over everything — including a clean white sky — it instantly looks like a digital overlay.
So when you can, let the grain fall off in the highlights and keep it present in the mids. This one behavior does more for realism than any amount of fiddling with size. It's also why grain pairs so naturally with the lifted, matte shadows of a faded black-and-white film look, where the shadows are exactly where grain wants to live.
Matching grain to the whole look
Grain rarely works alone. It's the finishing texture on top of tone and color, so it should match the story the rest of the edit is telling. Heavier grain suits gritty, high-contrast, reportage looks; whisper-fine grain suits clean portraits. Grain also plays beautifully with halation — the soft red glow around highlights — because together they mimic two different physical properties of film at once, and the combination is very hard for the eye to dismiss as digital.
Doing it in Fimii
Fimii's grain is realistic film grain, not a flat noise overlay. Because Fimii develops in true 16-bit — including straight from RAW files — the grain sits on smooth, band-free tones instead of fighting with compression artifacts from an 8-bit JPEG. You get an adjustable strength so you can dial it from barely-there to full analog, and because everything is non-destructive you can push it, compare, and pull it back with a tap. Many of the handcrafted film presets already include a tuned grain profile as their starting point.
Mistakes to avoid
- Too much grain. The single most common tell. Cut whatever felt right in half.
- Grain on a noisy file. Reduce digital noise first, then add grain — never both at once.
- Uniform grain in the highlights. Real grain fades where the light is brightest; let yours do the same.
- Adding grain before resizing. If you scale the image down after, the grain shrinks into mush. Add grain at final output size.
Fimii adds realistic film grain on true 16-bit RAW — texture that reads as film, not noise. Free to download, one-time unlock, no subscription.
Get Fimii — free to download