Home › Guides › Add light leaks
How to Add Light Leaks Tastefully
Short answer: a light leak is a wash of warm color — usually orange or red — bleeding in from the edge of the frame, as if stray light hit the film. Keep it at the edges, keep the color warm, keep opacity low, and never let it cover a face. Done right it's one of the most charming film effects; overdone it wrecks the shot.
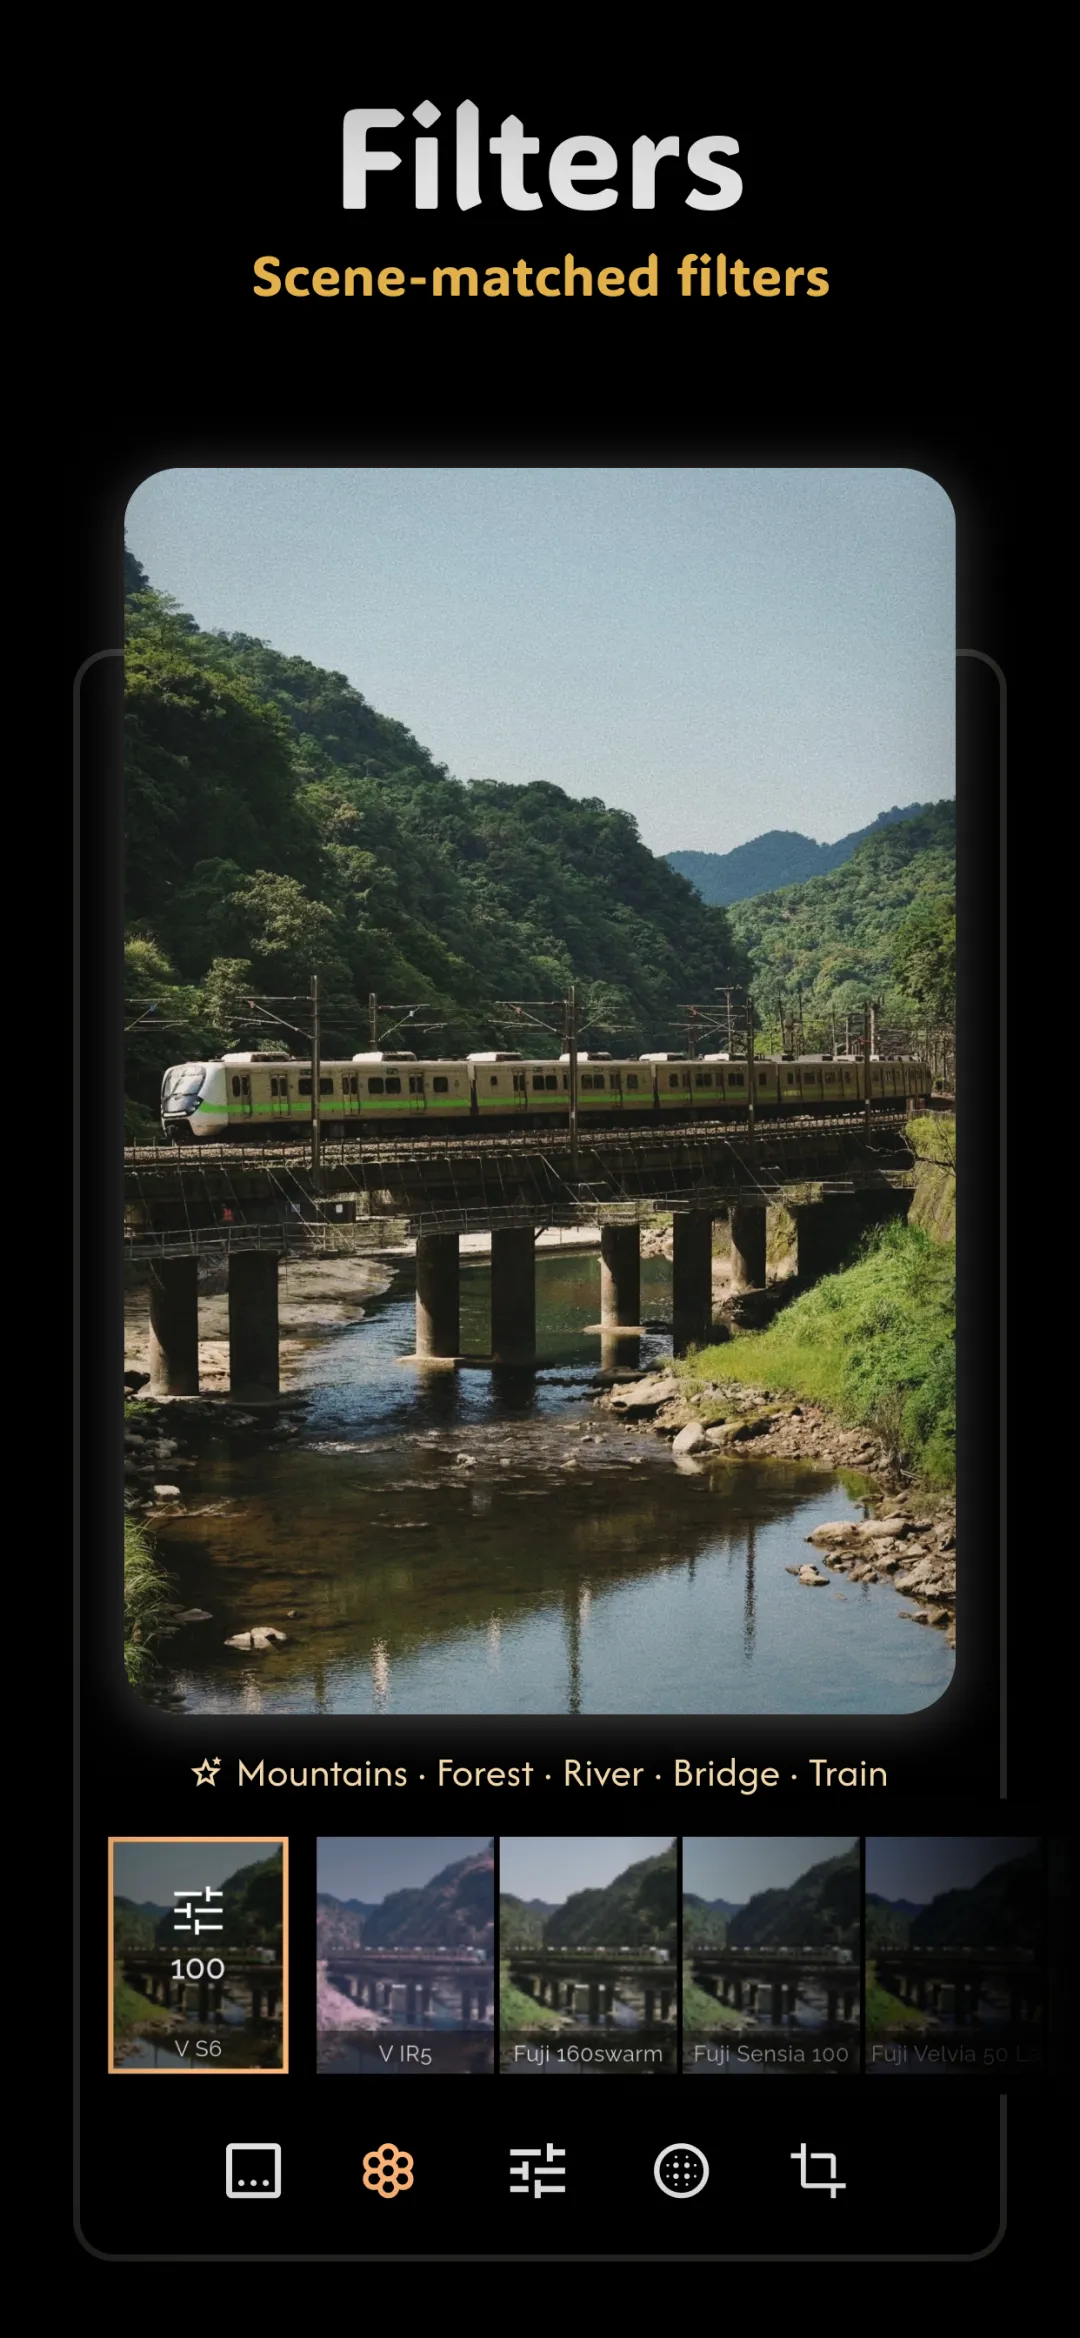
Light leaks are the happy accidents of film photography: stray light sneaking through a gap in the camera body or a loosely-wound roll, fogging part of the frame with a warm glow. As one of the analog film effects, a leak adds spontaneity and nostalgia — but only when it behaves like a real leak instead of a sticker.
What a real light leak looks like
Real leaks have physics. Light enters from an edge or corner and falls off as it travels inward, so the color is most intense at the frame edge and fades toward the center. It's warm — reds, oranges, sometimes a touch of magenta — because it's usually daylight or bulb light hitting sensitized film. And it's soft: a leak has no hard outline, it's a gradient. If your leak has a crisp edge or sits in the dead center of the frame, it reads as fake immediately.
Placement, opacity and color
- Placement: anchor the leak to an edge or corner and let it bleed inward. Corners feel most natural because that's where camera-back light usually enters. Avoid the exact center.
- Opacity: start lower than feels satisfying. A leak should tint and glow, not paint over the image. If you can't see the detail underneath, it's too strong.
- Color: stay warm. Orange and red-orange are the safe, classic choices; deep red and warm magenta work for a bolder look. Cool blue leaks exist but read as "digital effect" far more easily.
- Direction: a leak should feel like it's coming from a specific spot, not floating randomly.
When a leak helps — and when it kills a shot
A leak helps when the photo already has a loose, casual, nostalgic energy: sunny outdoor snaps, candid moments, travel frames, anything that wants to feel like a found photo. It's a natural partner to the vintage retro photo look and the point-and-shoot spontaneity of the disposable camera look.
A leak kills a shot when it fights the subject. If the warm wash lands on someone's face, it discolors their skin and the eye reads it as a mistake, not a mood. Leaks also undercut clean, formal, or high-detail images — product shots, crisp portraits, architecture — where the "accident" just looks like sloppiness. The test: would this photo plausibly have come out of a real film camera with a light leak? If not, skip it.
Doing it in Fimii
Fimii offers light leaks as an adjustable film effect, so you control strength rather than accepting a fixed overlay. Because Fimii develops in true 16-bit — including from RAW files — the warm gradient blends smoothly into your highlights instead of banding. It's non-destructive, so you can try a leak, slide it back, or remove it entirely with a tap. Layer a subtle leak with film grain and a hint of halation and the frame stops looking edited and starts looking shot.
Mistakes to avoid
- Opacity too high. The most common mistake — a leak should whisper, not shout.
- Leak over a face. Never let the warm wash discolor skin; keep it on the edges and background.
- Hard edges. Real leaks are soft gradients. A crisp boundary screams overlay.
- Same leak on every photo. Repeating one identical leak across a whole set makes the "accident" obviously deliberate. Vary placement and strength.
Fimii adds adjustable light leaks on true 16-bit RAW — warm, edge-anchored, and band-free. Free to download, one-time unlock, no subscription.
Get Fimii — free to download