Home › Guides › Vintage / retro photo look
How to Get a Vintage / Retro Photo Look on Your Phone
Short answer: A vintage look comes from four things — faded blacks, a warm color cast, softened contrast, and visible grain. In Fimii, start with a warm film preset, lift the bottom of the tone curve so shadows go milky, push white balance warmer, and finish with grain and an optional date stamp or border.
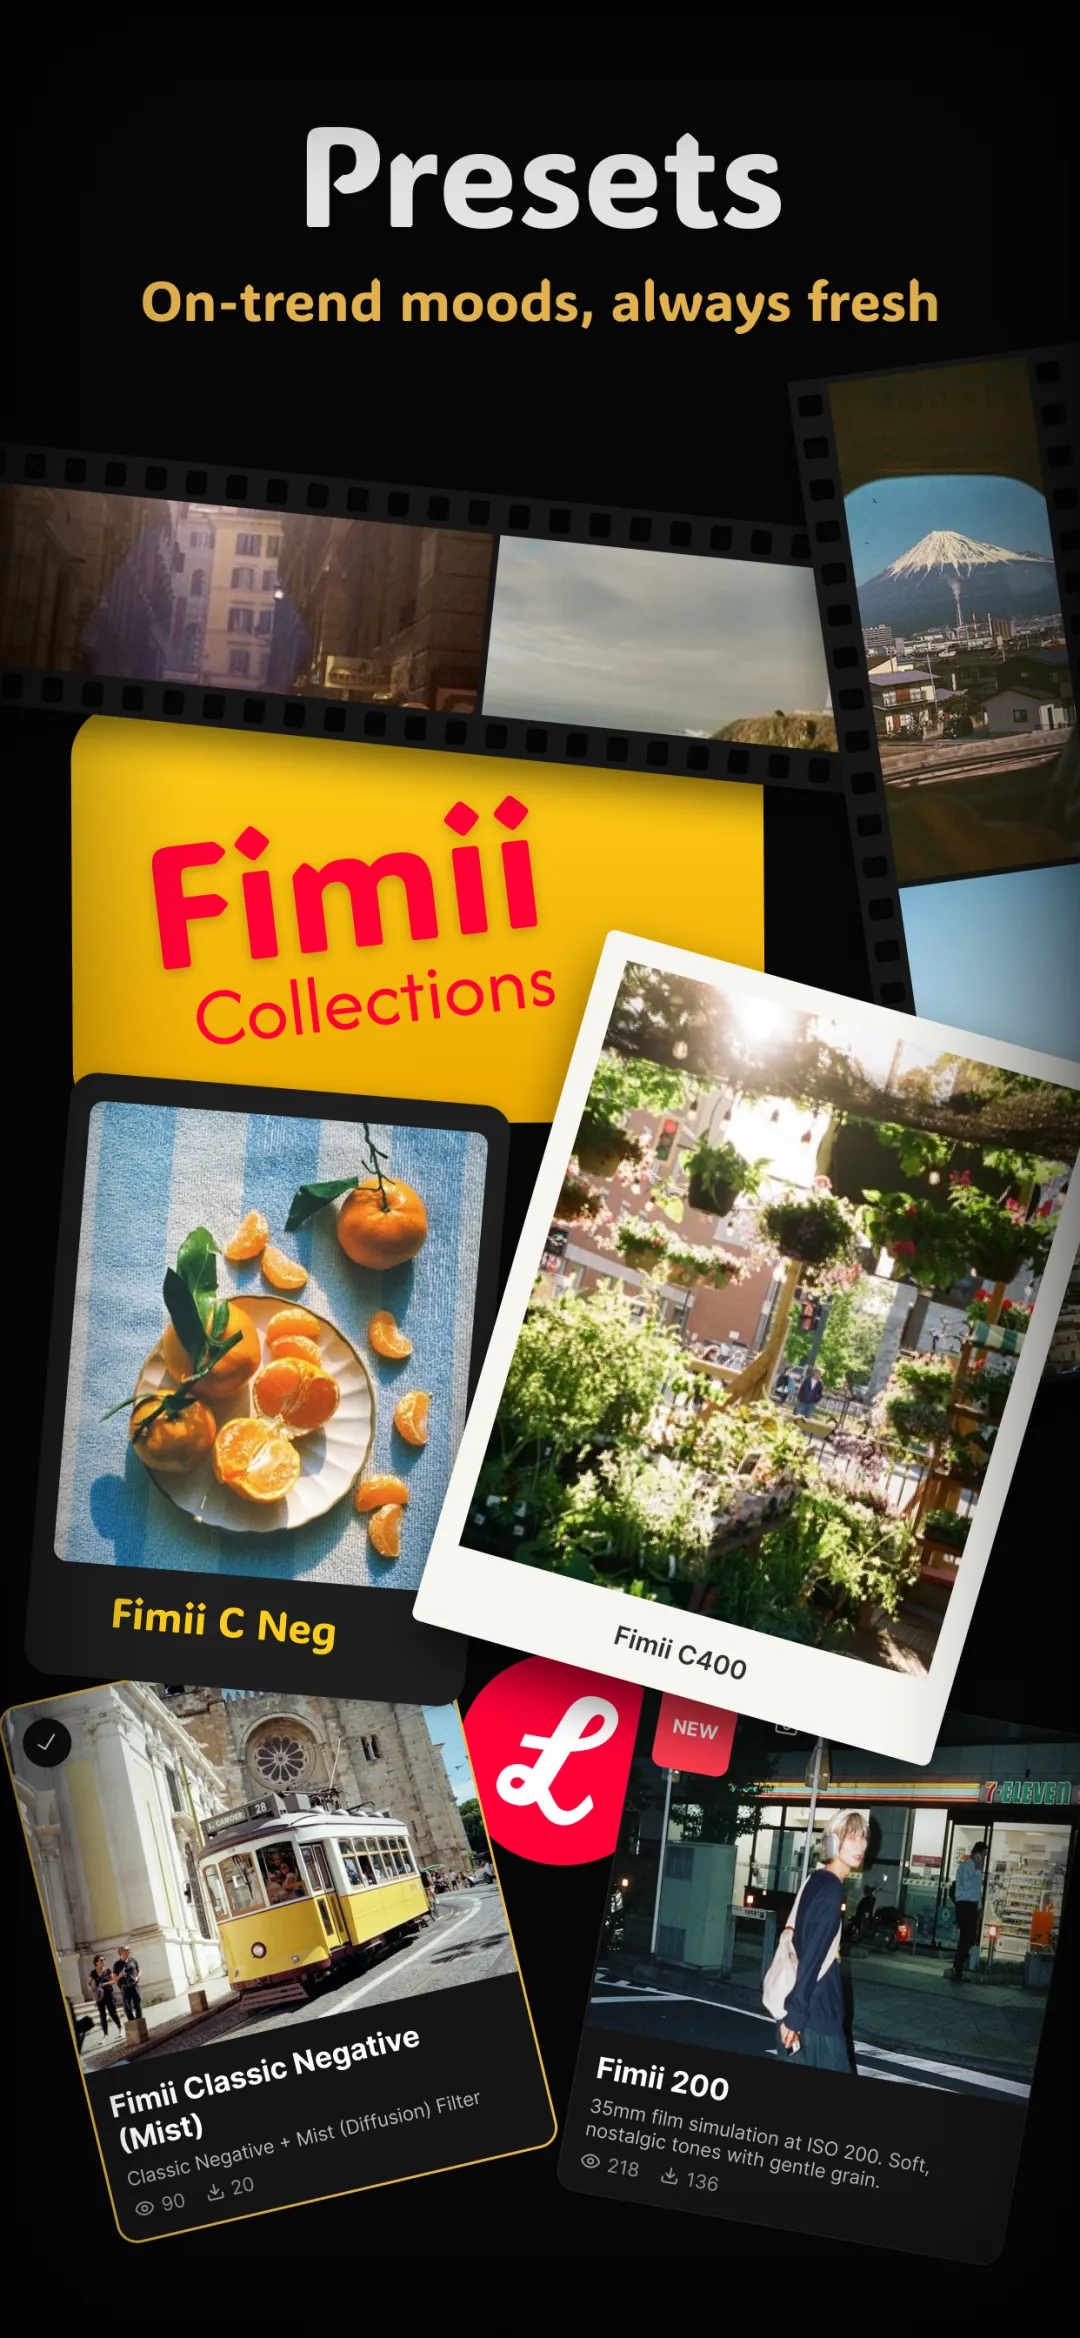
"Vintage" and "retro" cover a lot of ground — a 1970s family snapshot, a sun-bleached 90s point-and-shoot photo, a faded postcard. But they share a recognizable fingerprint. Once you can name that fingerprint, you can rebuild it deliberately on your phone instead of hoping a random filter lands. This guide breaks the look into its parts, then walks through recreating each one in Fimii.
What actually makes a photo look vintage
Old photos didn't look old on purpose. The characteristics we now read as "vintage" are mostly the side effects of aging dyes, cheap lenses, and consumer film. Four traits do most of the work:
- Faded blacks. On aged prints the darkest tones drift upward — pure black becomes a soft charcoal or dusty brown. This "lifted shadow" is the single most important vintage cue.
- A warm color cast. Old dyes yellow over time, so vintage photos lean amber and orange, especially in the highlights and midtones.
- Softened contrast. Faded prints lose punch. Highlights are gentle rather than bright white, and the overall image feels lower in contrast.
- Grain and texture. Consumer film and enlargement added a fine, organic grain that digital sensors don't produce on their own.
Optional extras — a printed date stamp in the corner, a slight vignette, or a white film border — push the effect from "warm edit" into unmistakably retro territory.
Step 1 — Start from a warm film preset
Don't build the look from a raw, neutral photo. Give yourself a running start with a preset that already leans warm and faded. Fimii's handcrafted film presets emulate classic consumer stocks, and the warm-and-faded family is exactly the right neighborhood. Kodak's warm gold palette is a natural fit — see the Kodak Gold 200 look guide for the reference tones. Apply the preset, then pull its strength back to around 75–85% so you have room to refine rather than fight it.
If you already have a reference image — a scanned old photo, a shot you love — Fimii's optional AI look-match can analyze it and set the color-grading sliders toward that mood. It only nudges real sliders; it never repaints or fakes detail in your photo, so your image stays your image.
Step 2 — Fade the blacks with the tone curve
This is the step most people skip, and it's the one that sells the effect. Open the tone curve and lift the bottom-left point straight up. Instead of the darkest shadow sitting at pure black, it now sits at a soft grey. Do the same gently at the top, pulling the highlight point down a touch so bright areas stop short of white. The result is a compressed, milky tonal range — exactly what an aged print looks like.
Keep it subtle. A small lift reads as "faded"; a big lift reads as "washed out and broken." If the photo starts to look flat and lifeless, you've gone too far — back off until it feels gently soft rather than grey.
Step 3 — Warm it up with white balance and color wheels
Push white balance toward the warm end so the whole frame gains an amber tint. Then reach for the color wheels for finer control: nudge the highlights toward yellow-orange and the shadows slightly toward warm brown or, for a more nostalgic feel, a whisper of green. That shadow tint is a classic film characteristic and stops the image from looking like a plain "orange filter."
If specific colors feel off — skin looking too orange, or a sky too muddy — use the HSL controls to tune individual color ranges rather than shifting the whole image. Lowering overall saturation a little also helps; vintage color is muted, not vivid.
Step 4 — Add grain, then the finishing touches
Grain ties the whole look together and hides the clean, sharp signature of a phone sensor. Add a moderate amount — enough to see texture at full size, not so much that faces get noisy. Our guide to adding film grain and analog effects covers how to judge the right amount for different photos.
Then layer in the optional retro cues from Fimii's film effects:
- A film border — a clean white or black frame instantly reads as a print or a scanned negative.
- A date stamp — the little orange corner timestamp is pure 90s point-and-shoot nostalgia.
- A gentle vignette — darkening the corners slightly draws the eye in and mimics a simple lens.
- Light leaks or halation — used sparingly, a warm glow at the edges adds analog character.
Use these with restraint. One or two finishing touches feel intentional; all of them at once feels like a novelty filter. If you want to understand why presets behave the way they do before you start layering, the plain guide to film presets is a good primer.
Getting a consistent vintage set
A single retro photo is easy. A whole set that feels like it came off the same roll takes a little discipline. Because Fimii edits non-destructively, you can save your finished recipe and apply it across a batch, then tweak exposure per photo. Working from true 16-bit RAW gives your fades and color shifts far more room to move smoothly without banding in skies or skin — see how in the roundup of the best film looks for mobile.
Fimii bundles warm, faded film presets, real color-grading tools, grain, date stamps and film borders — everything the vintage look needs, in one non-destructive editor. Free to download, one-time unlock, no subscription.
Get Fimii — free to download